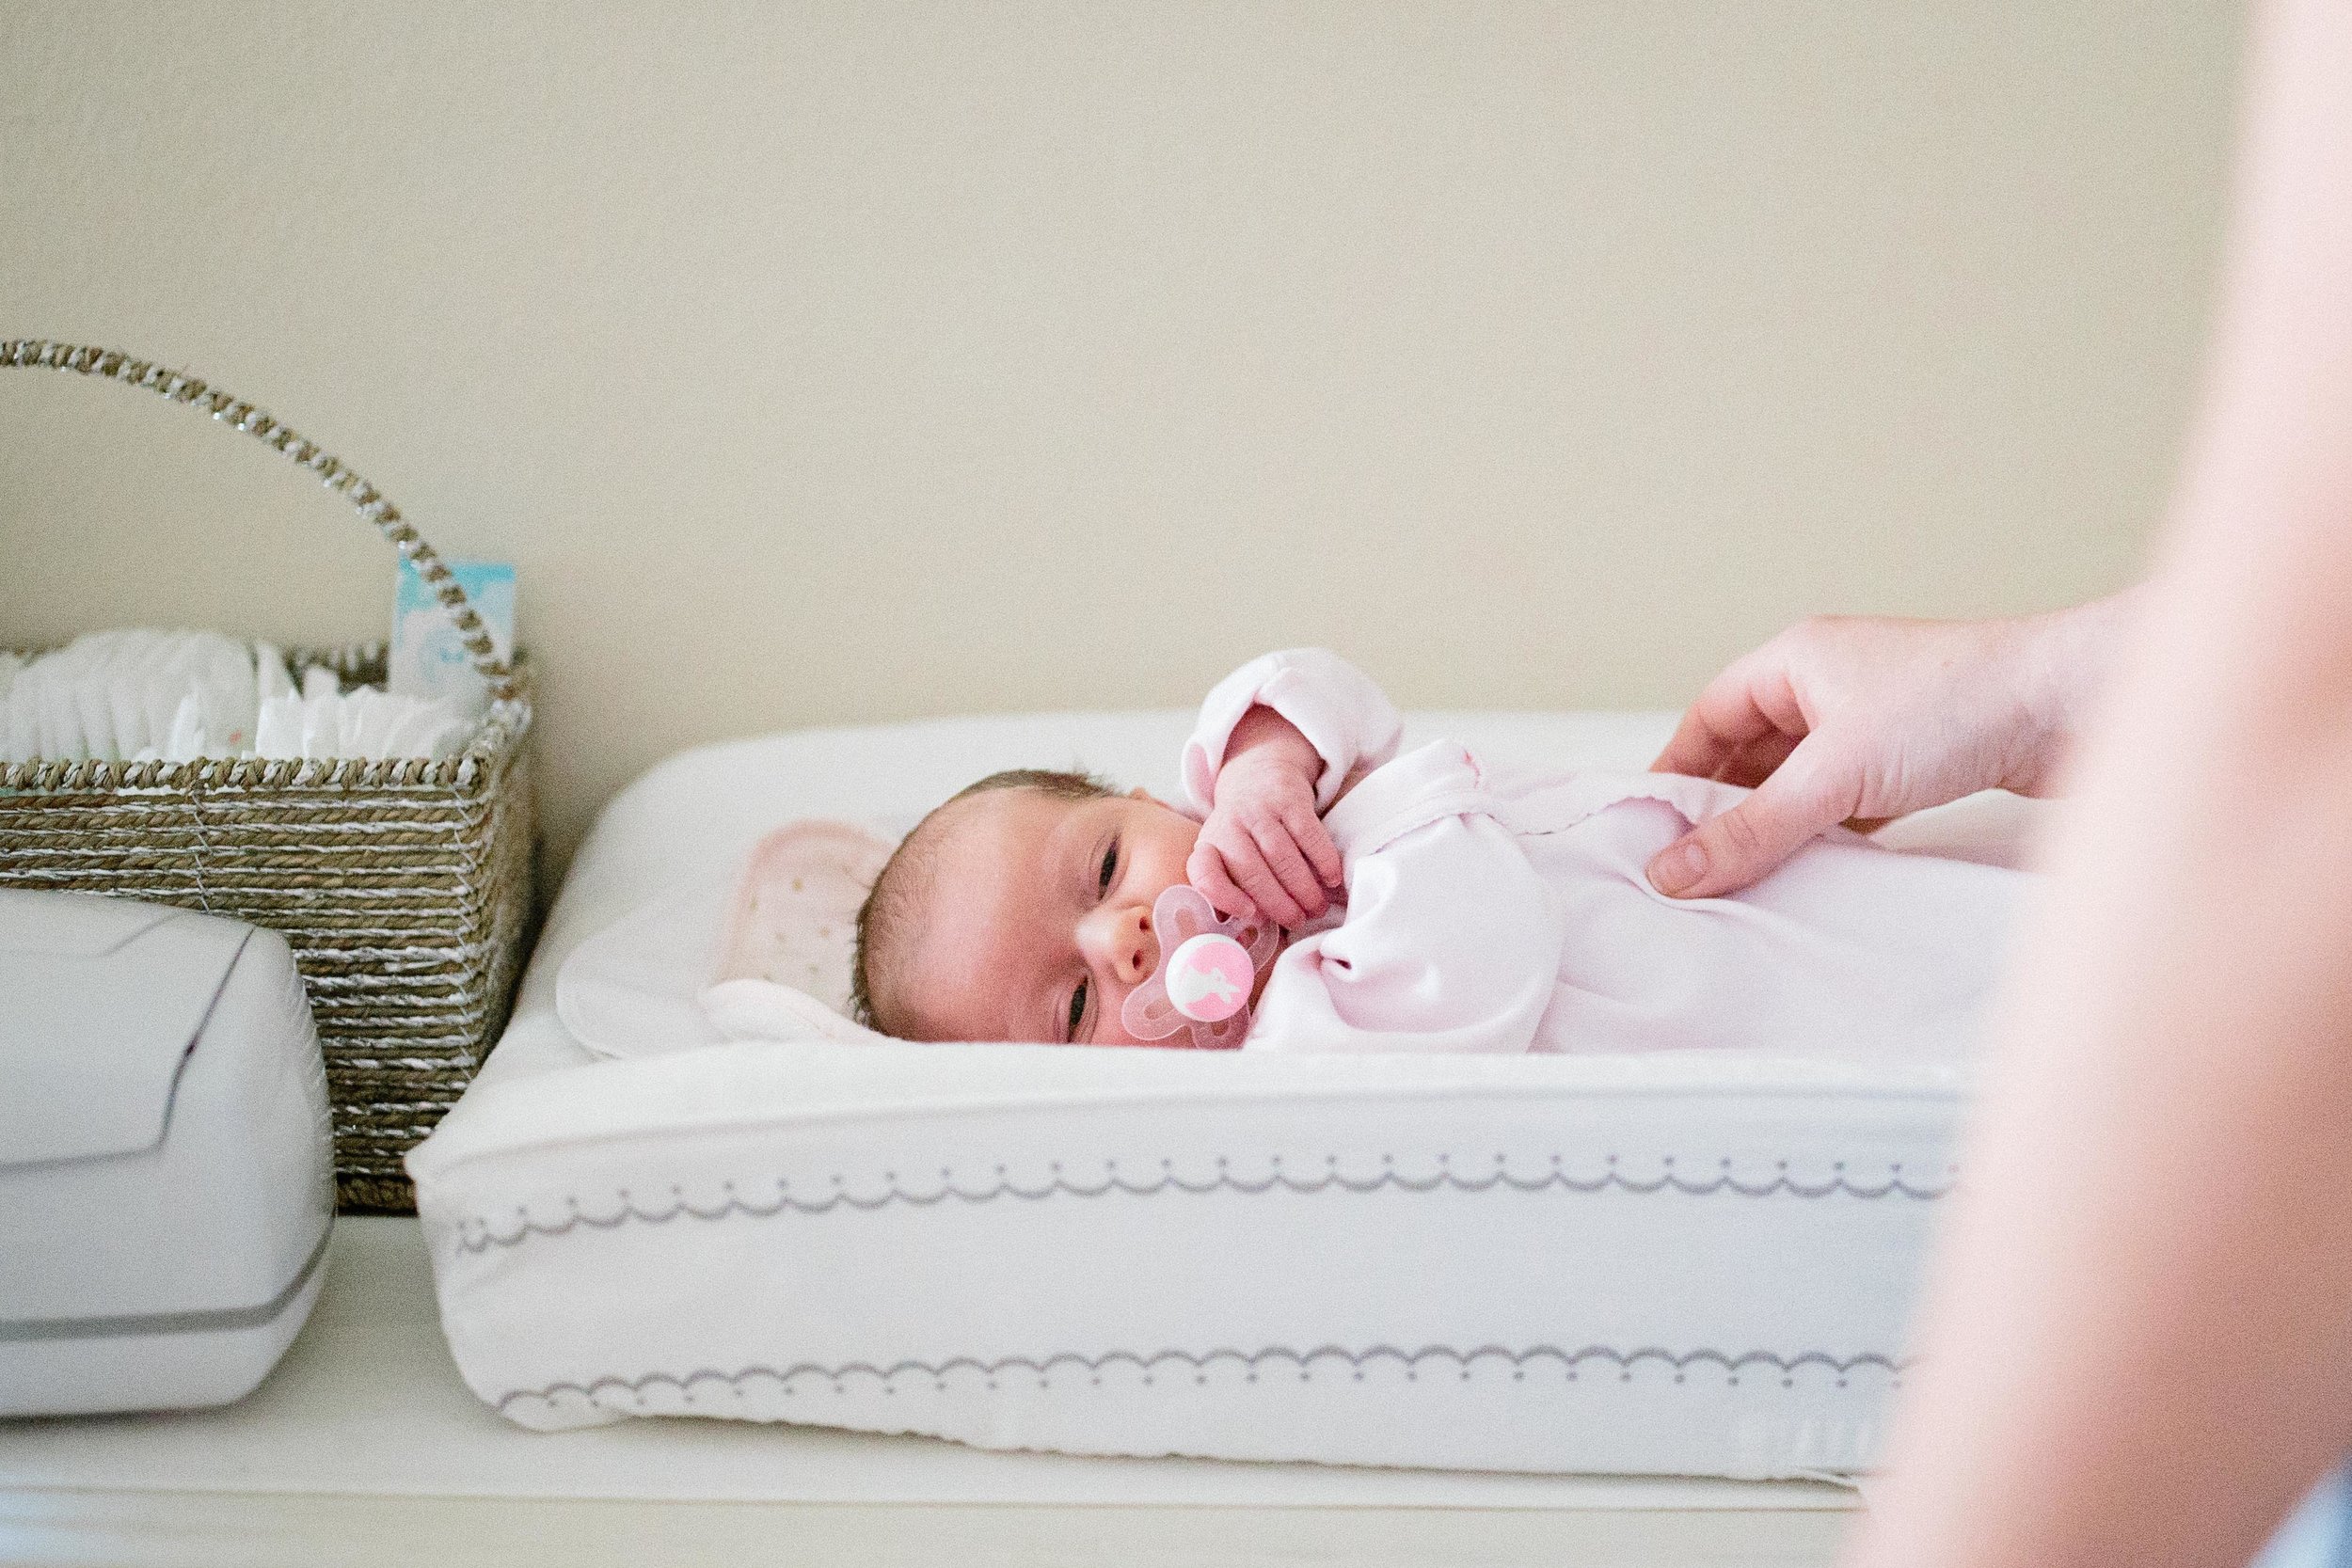
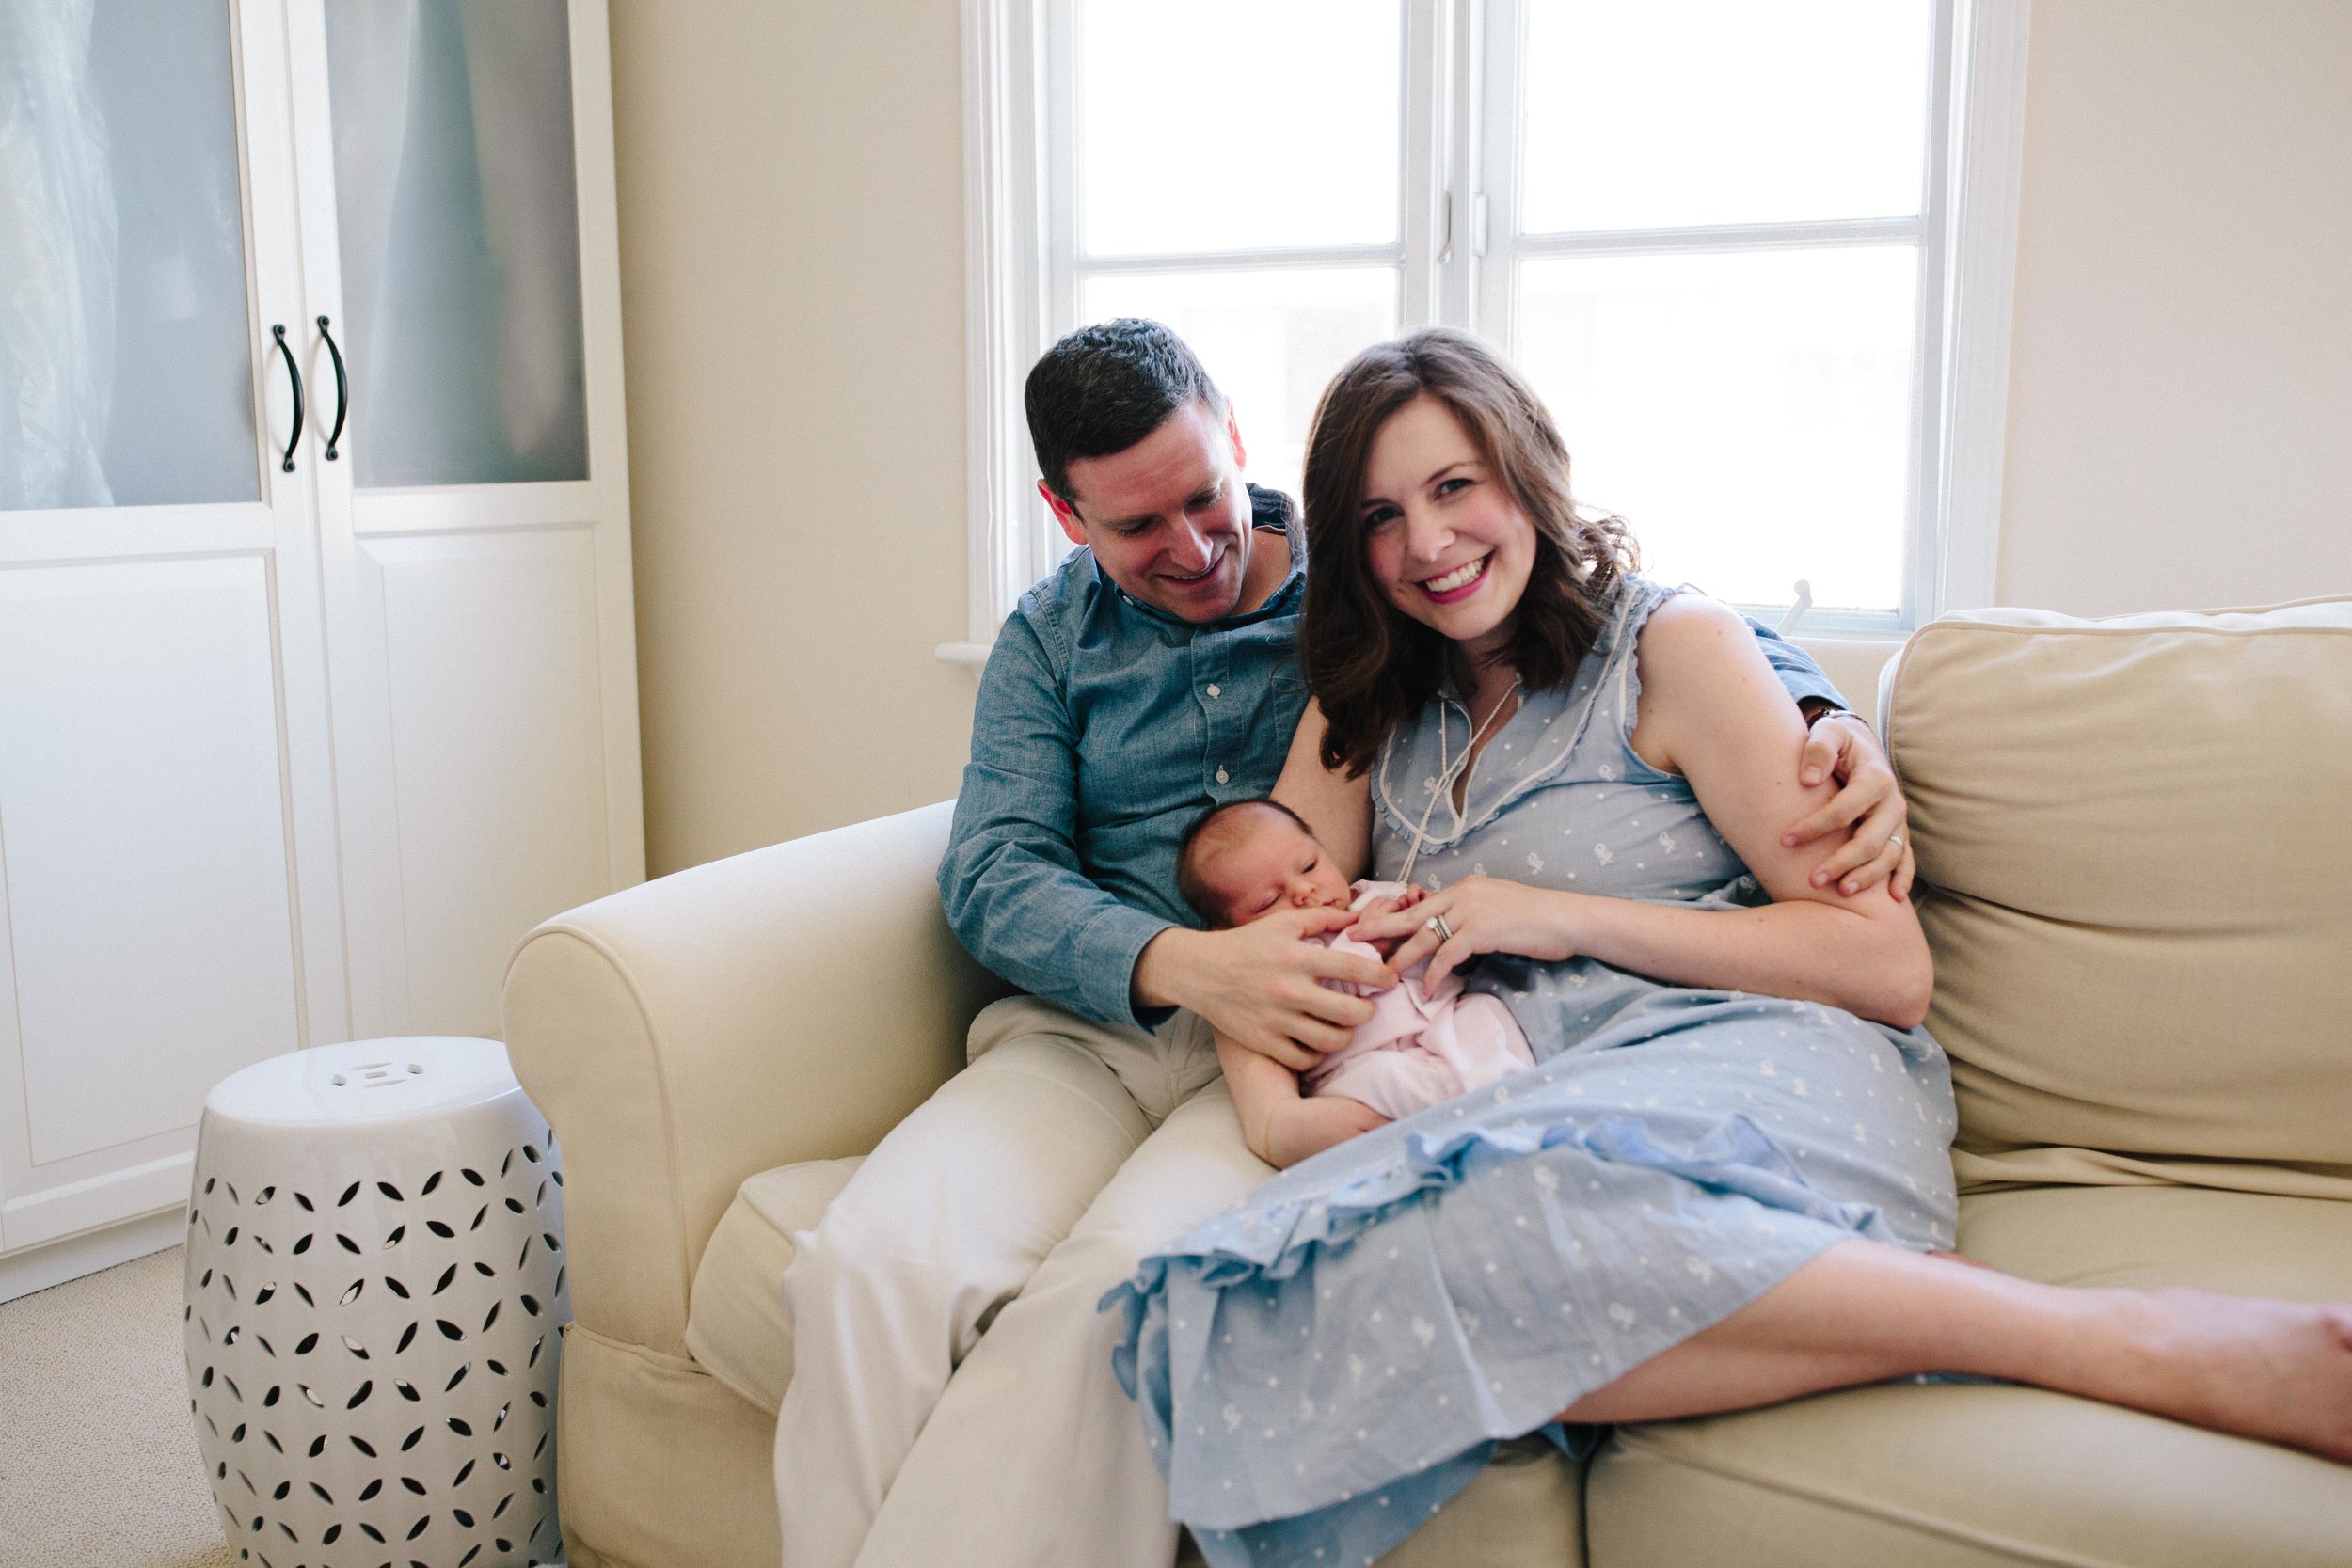
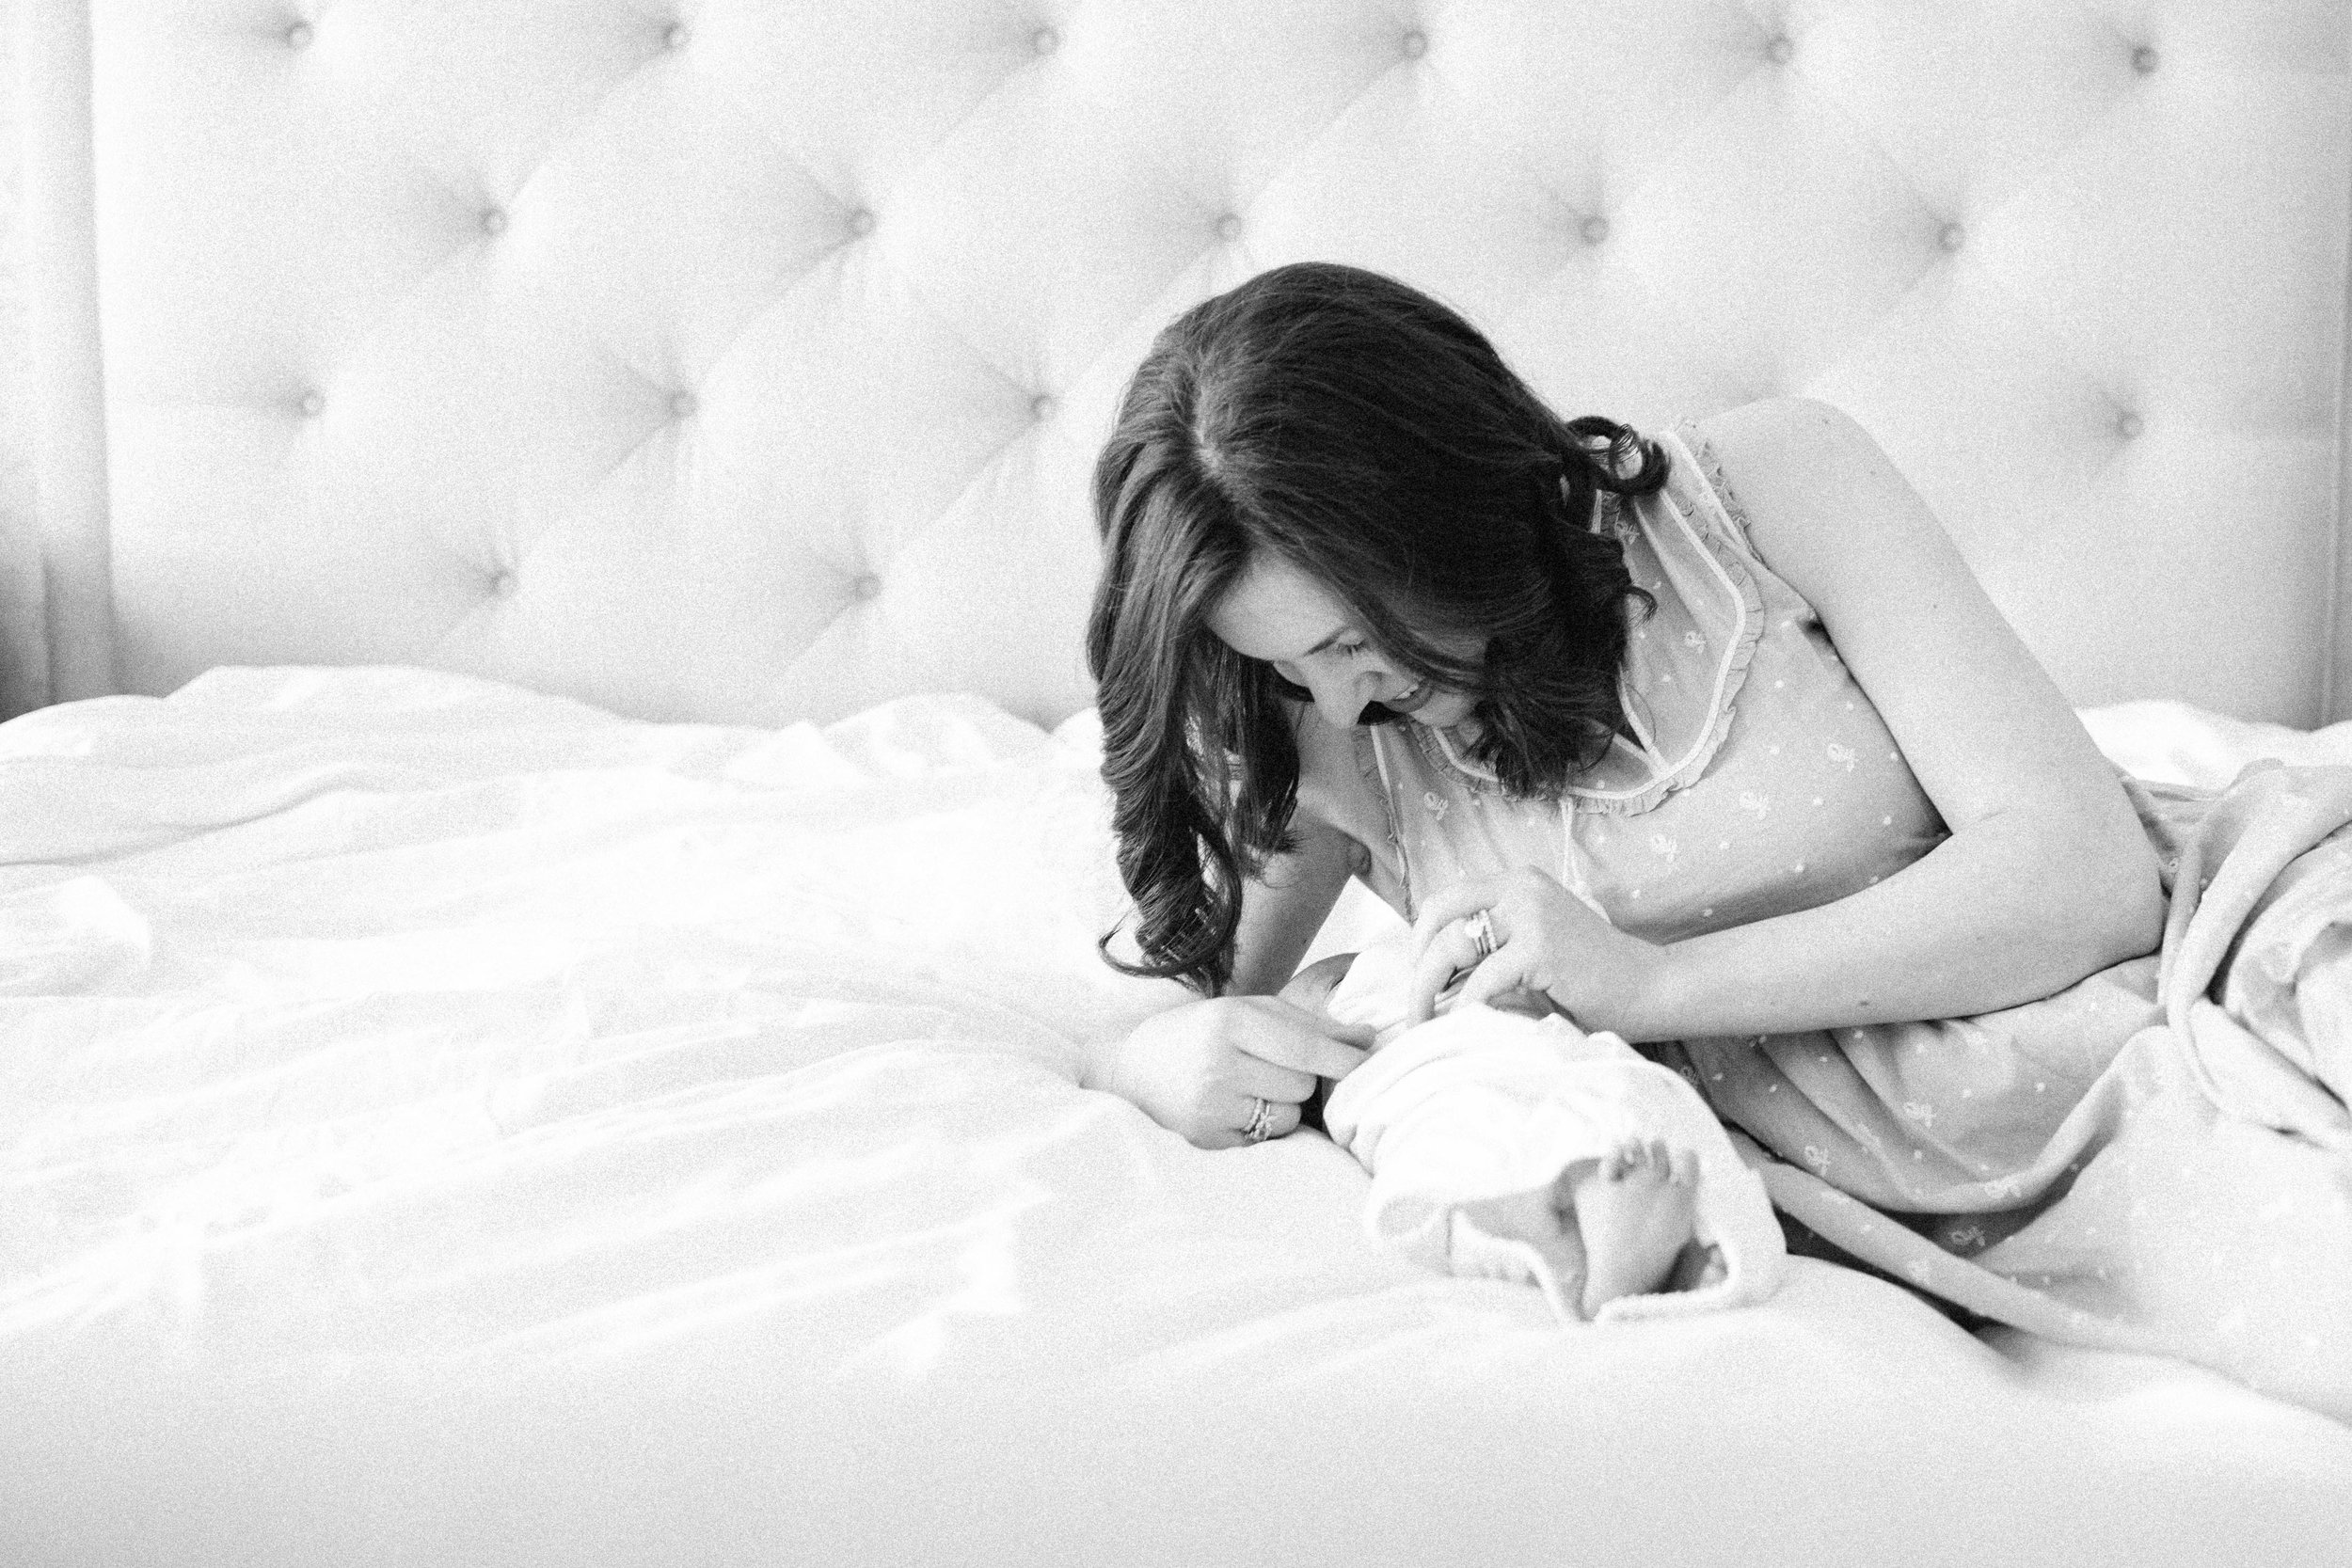
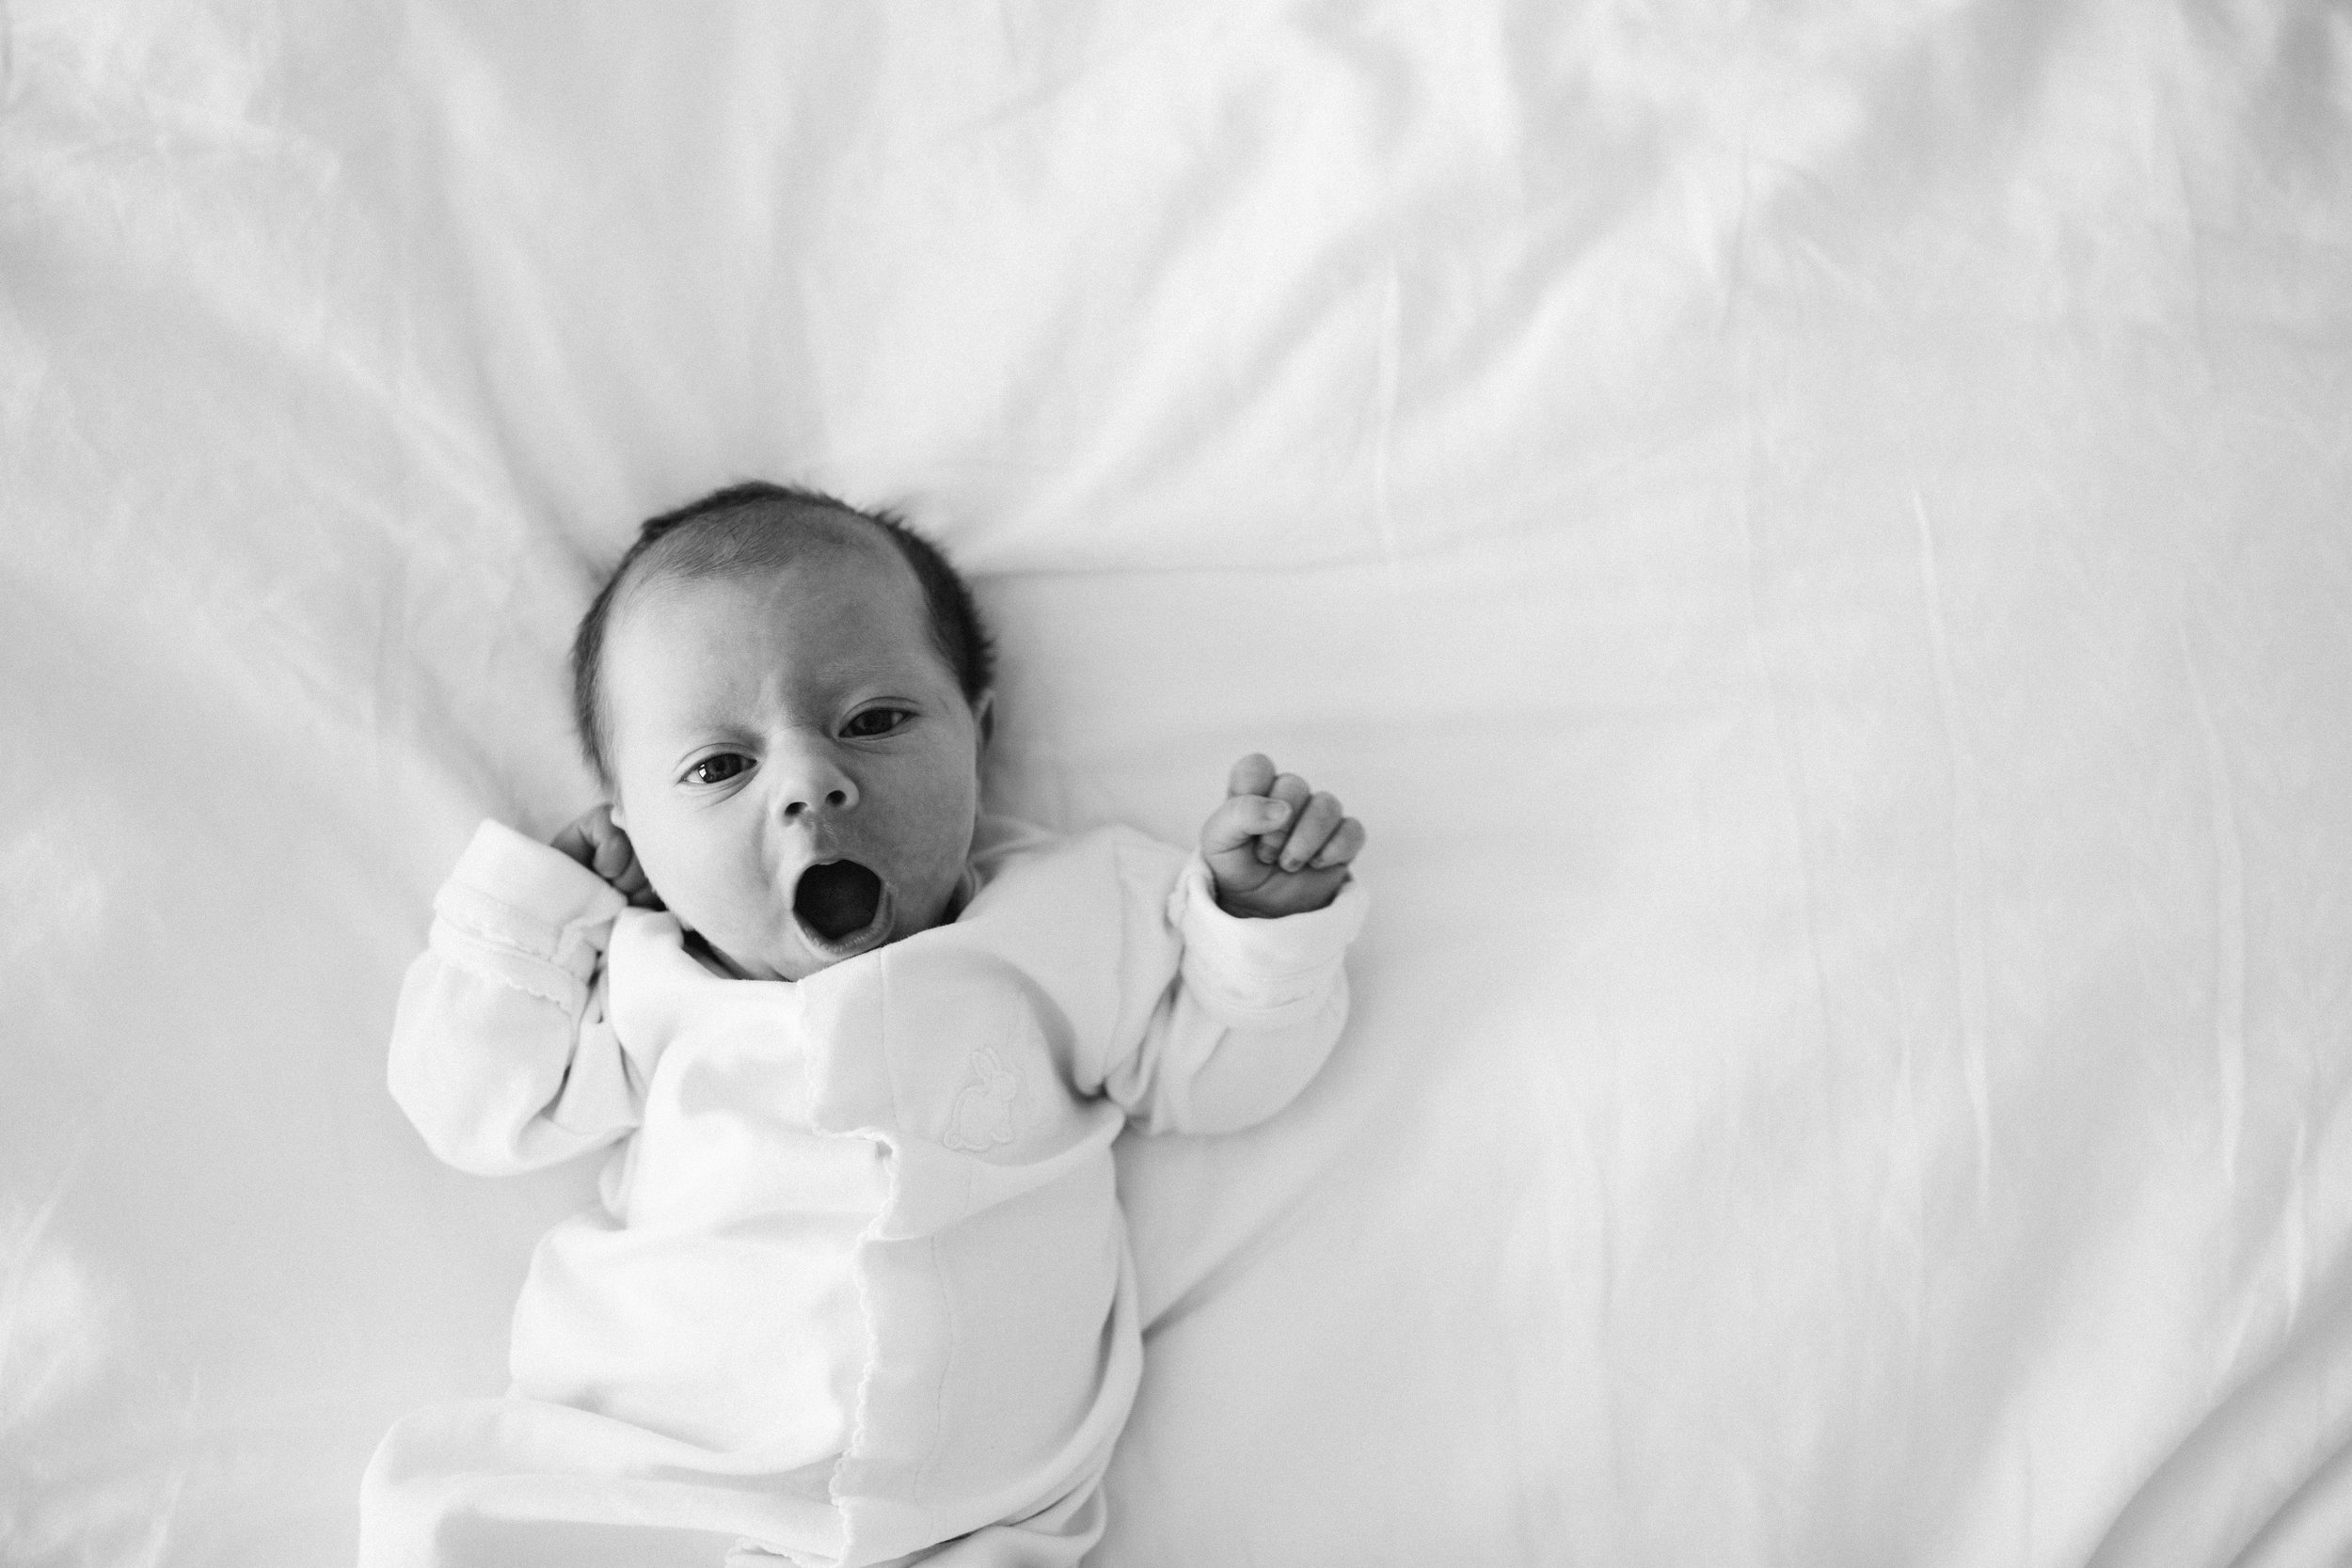
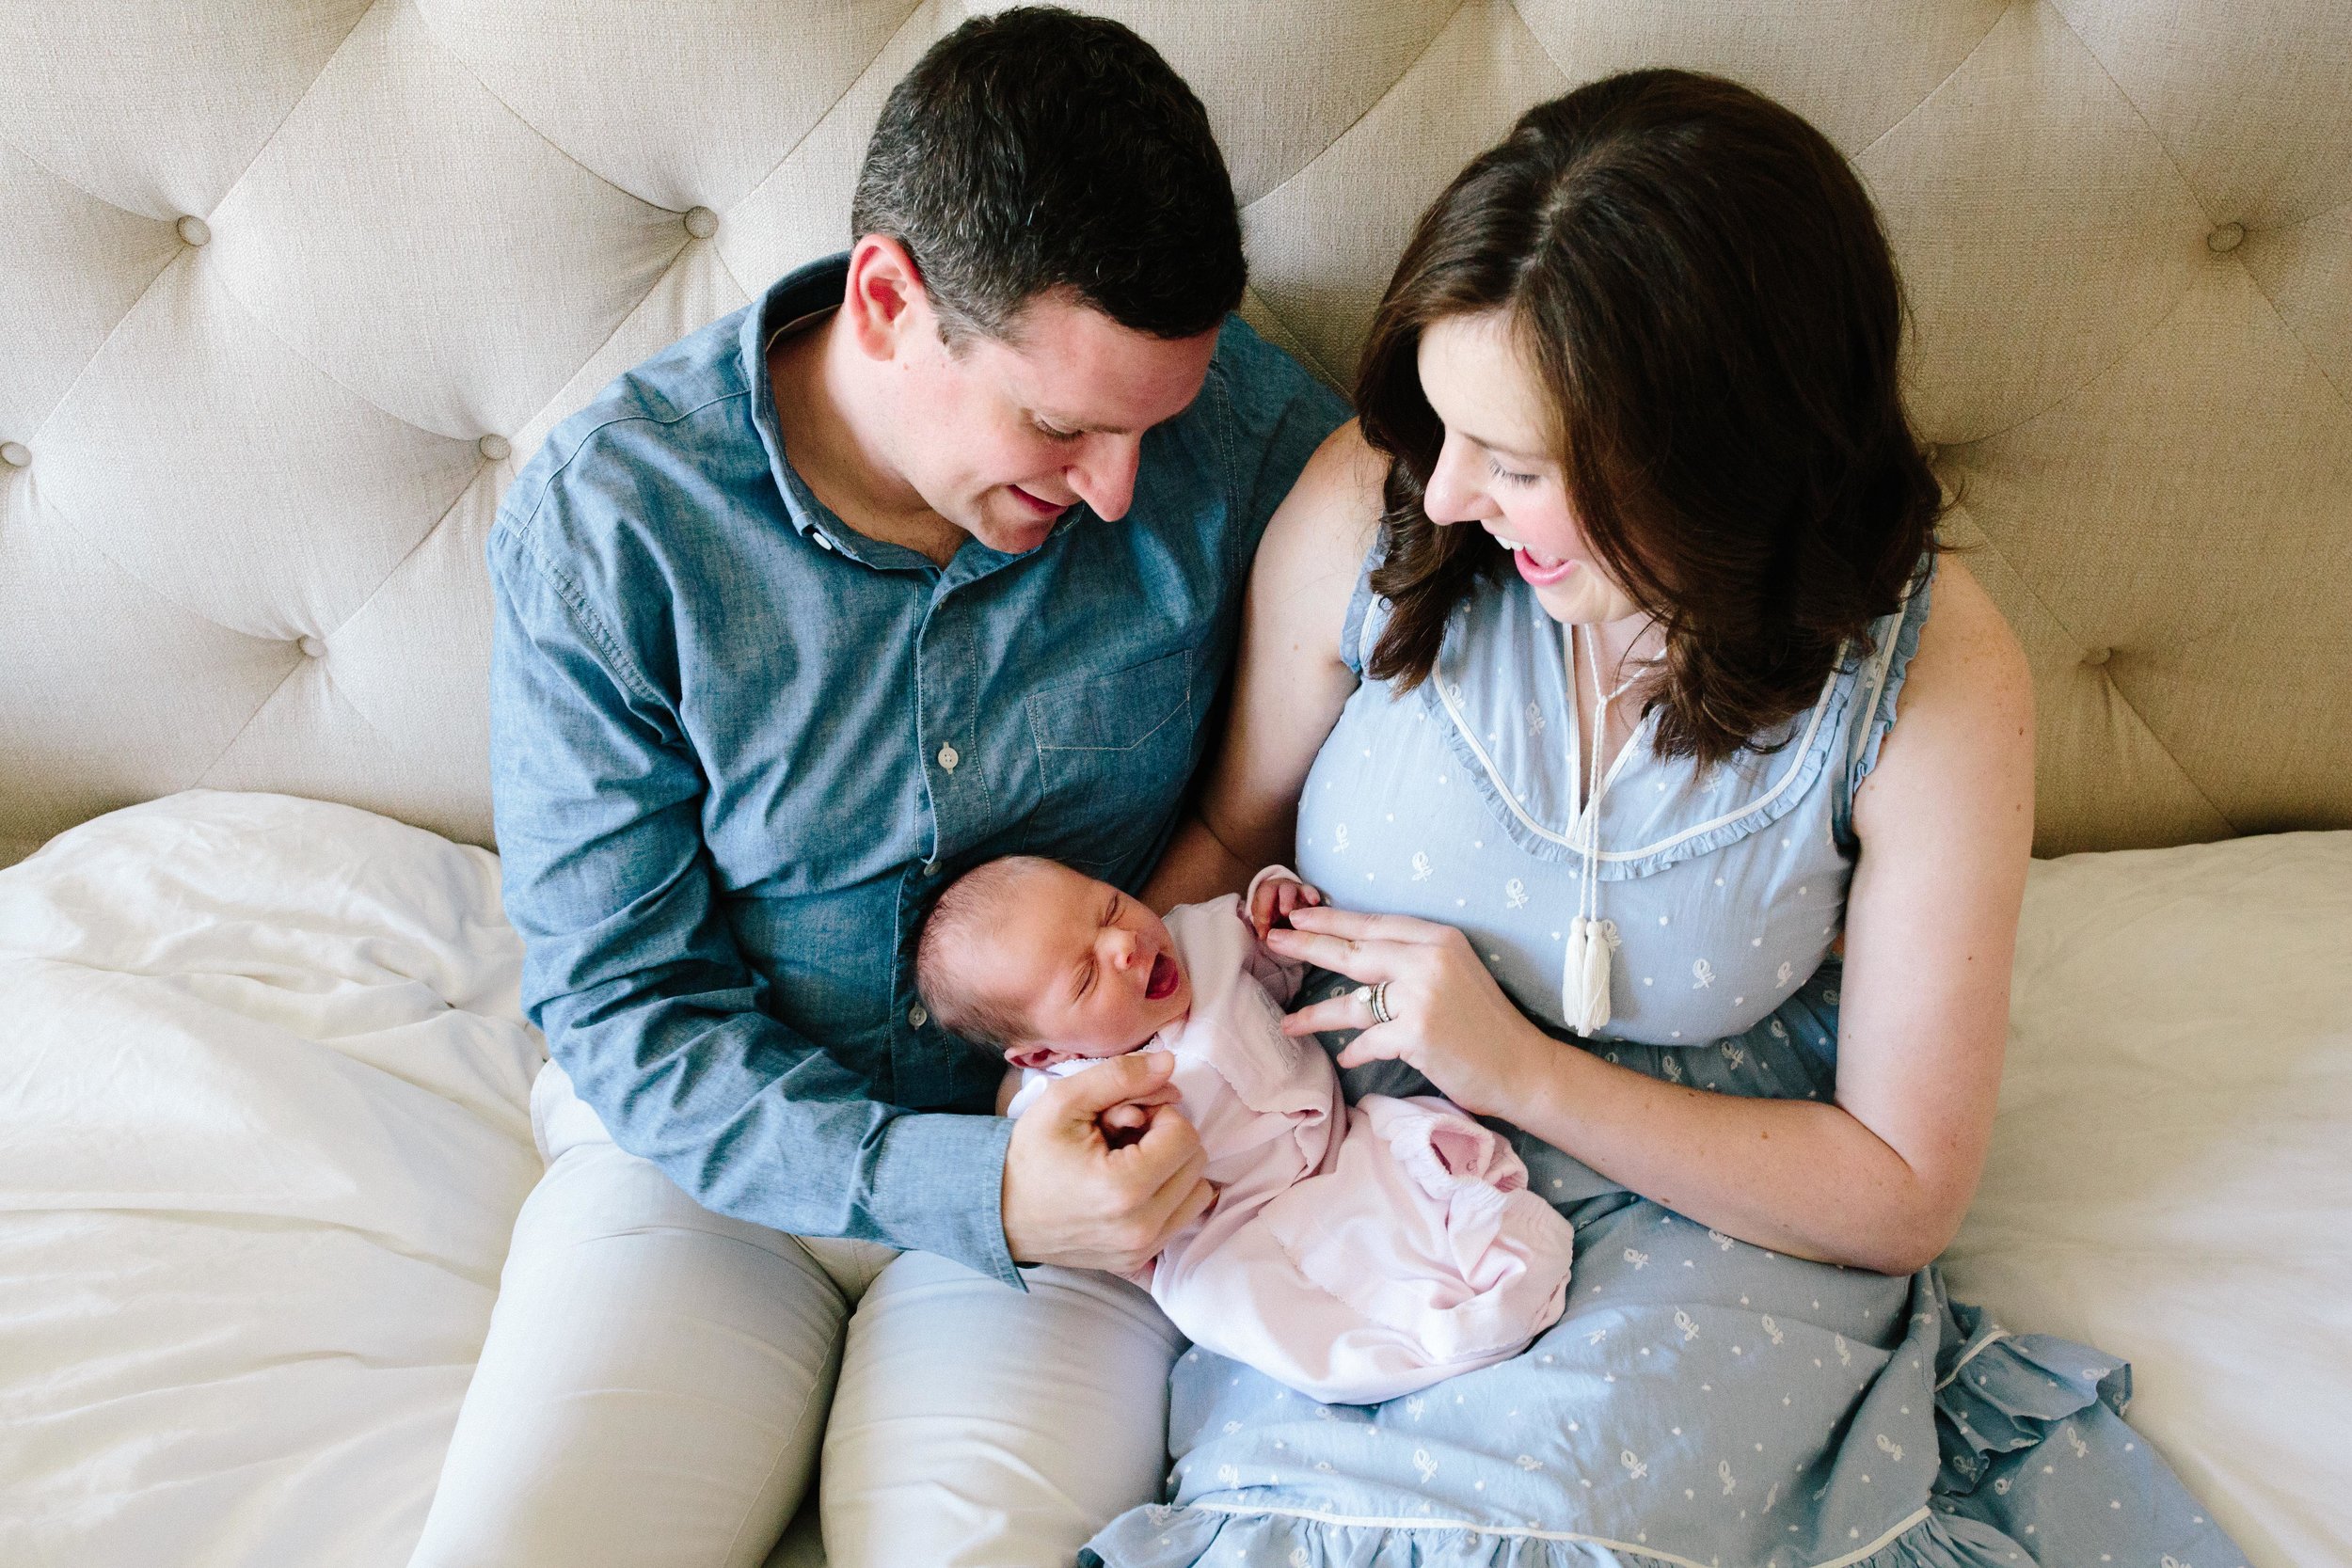
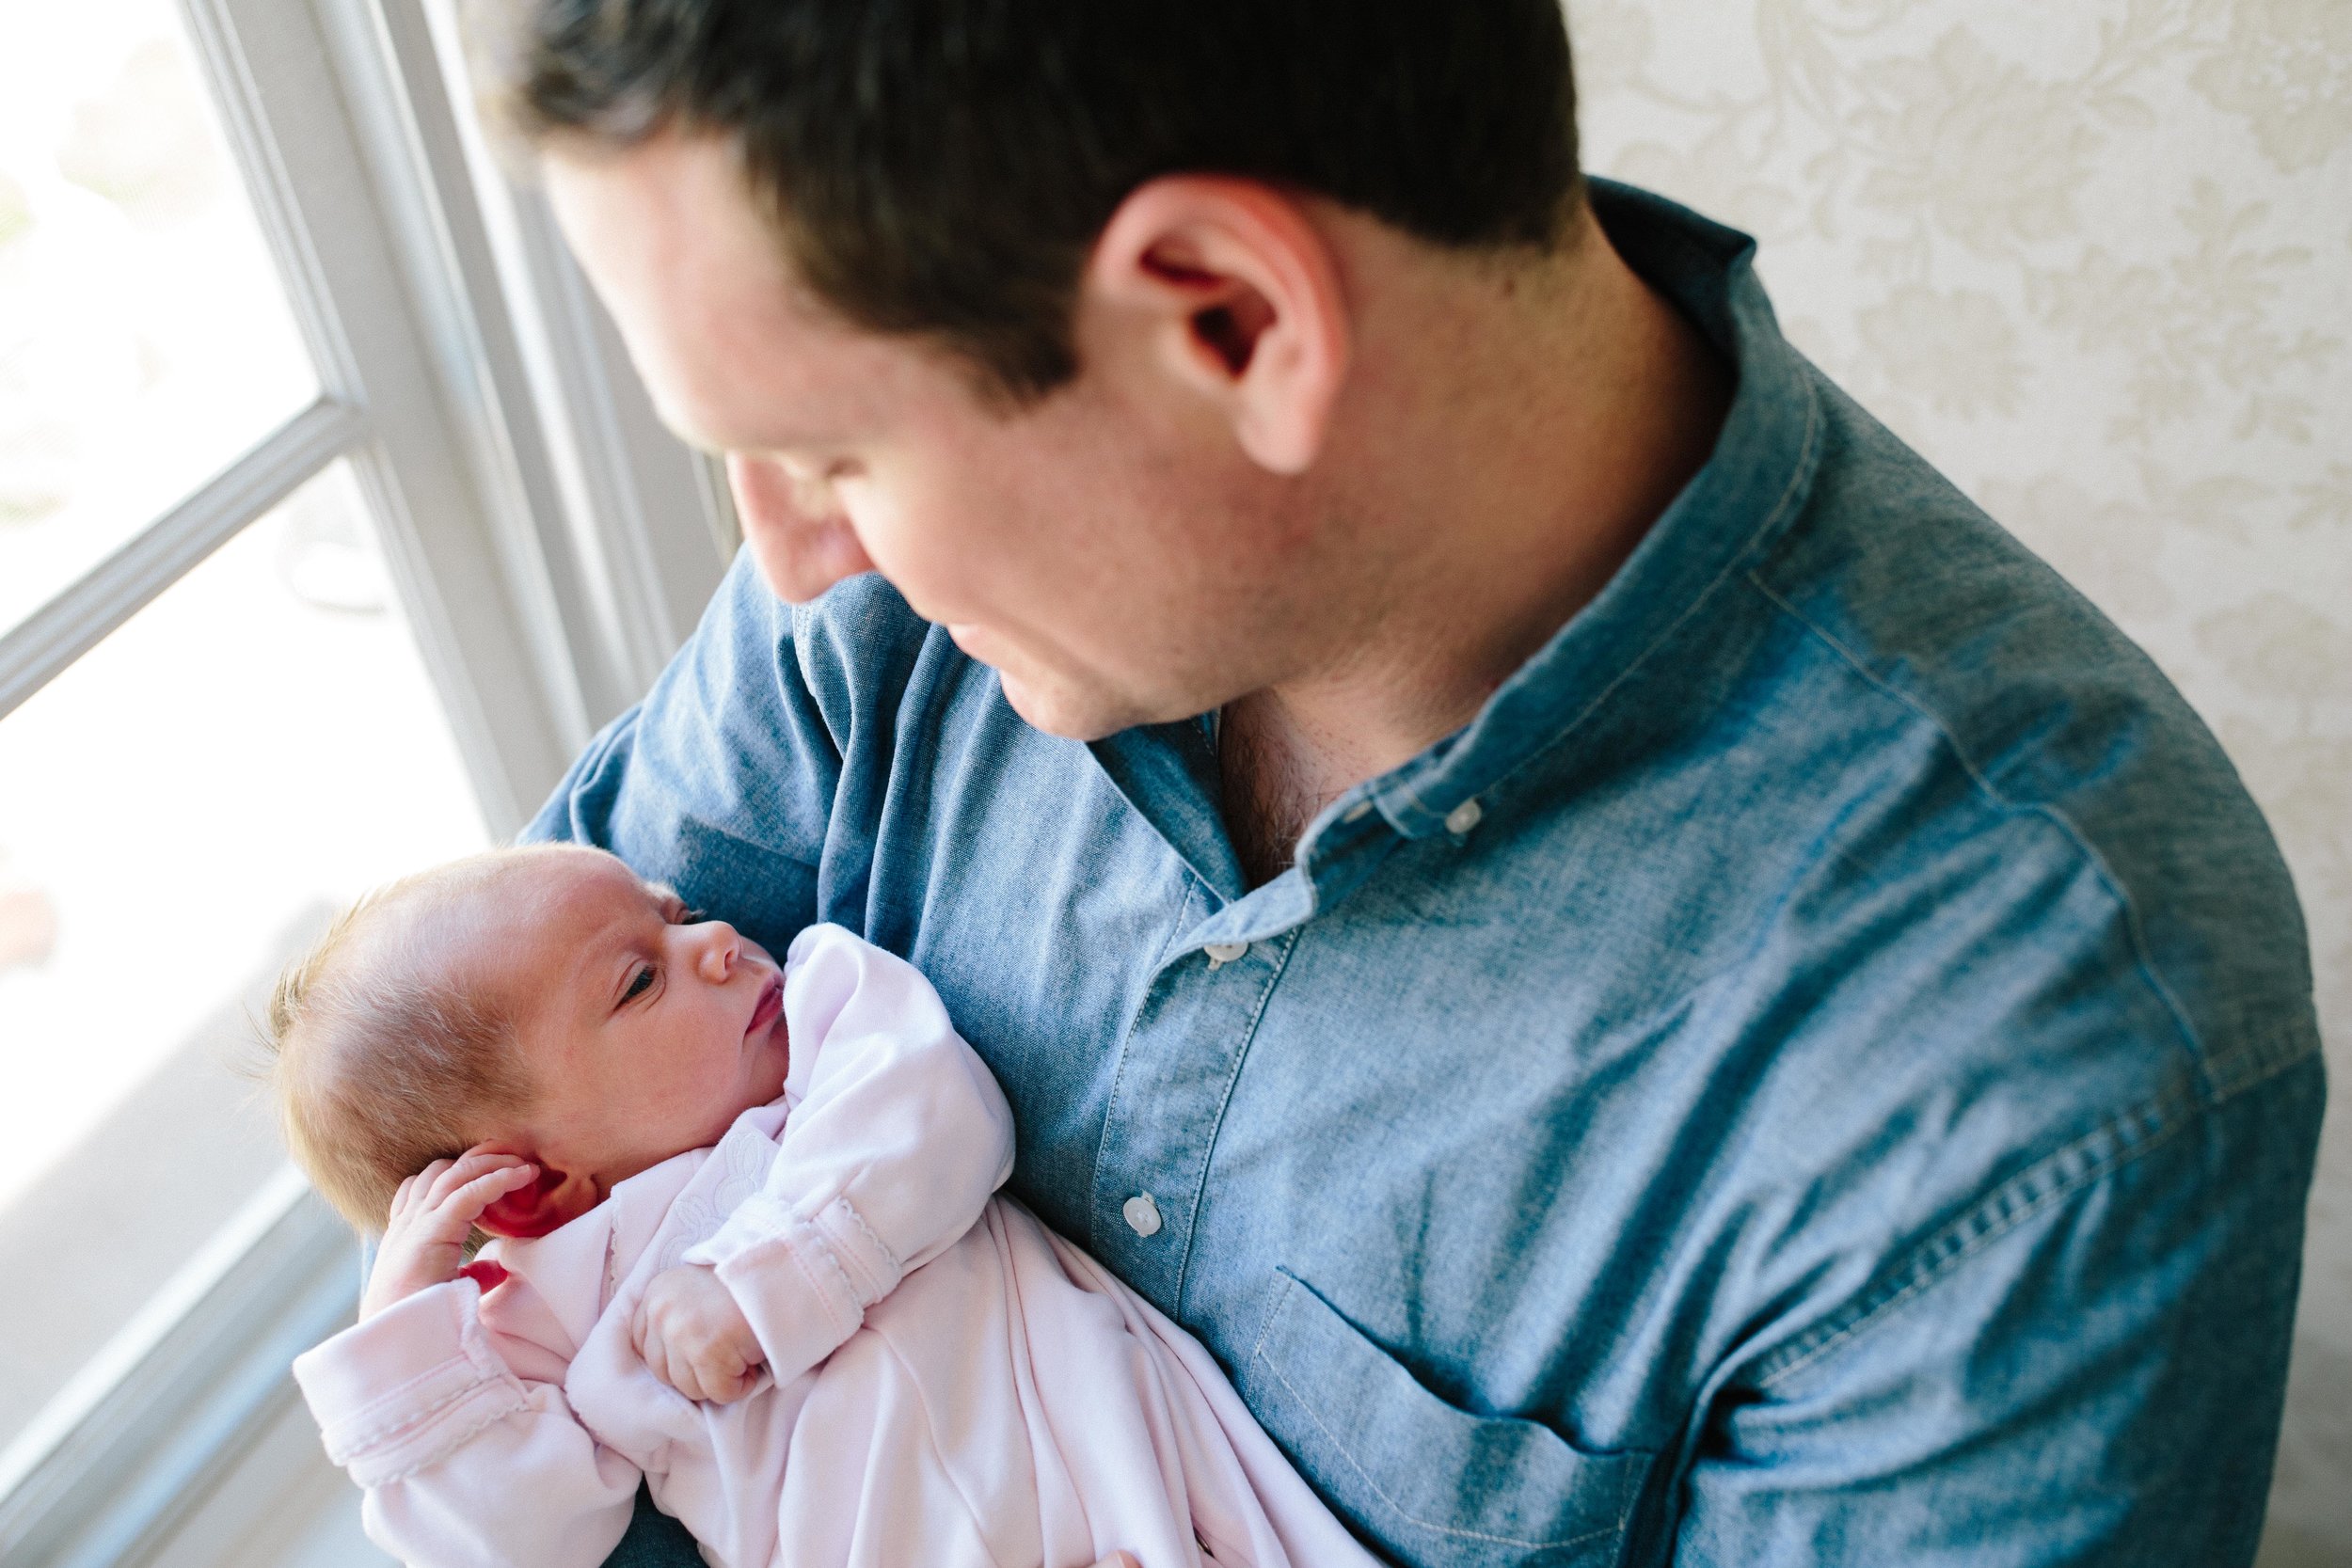
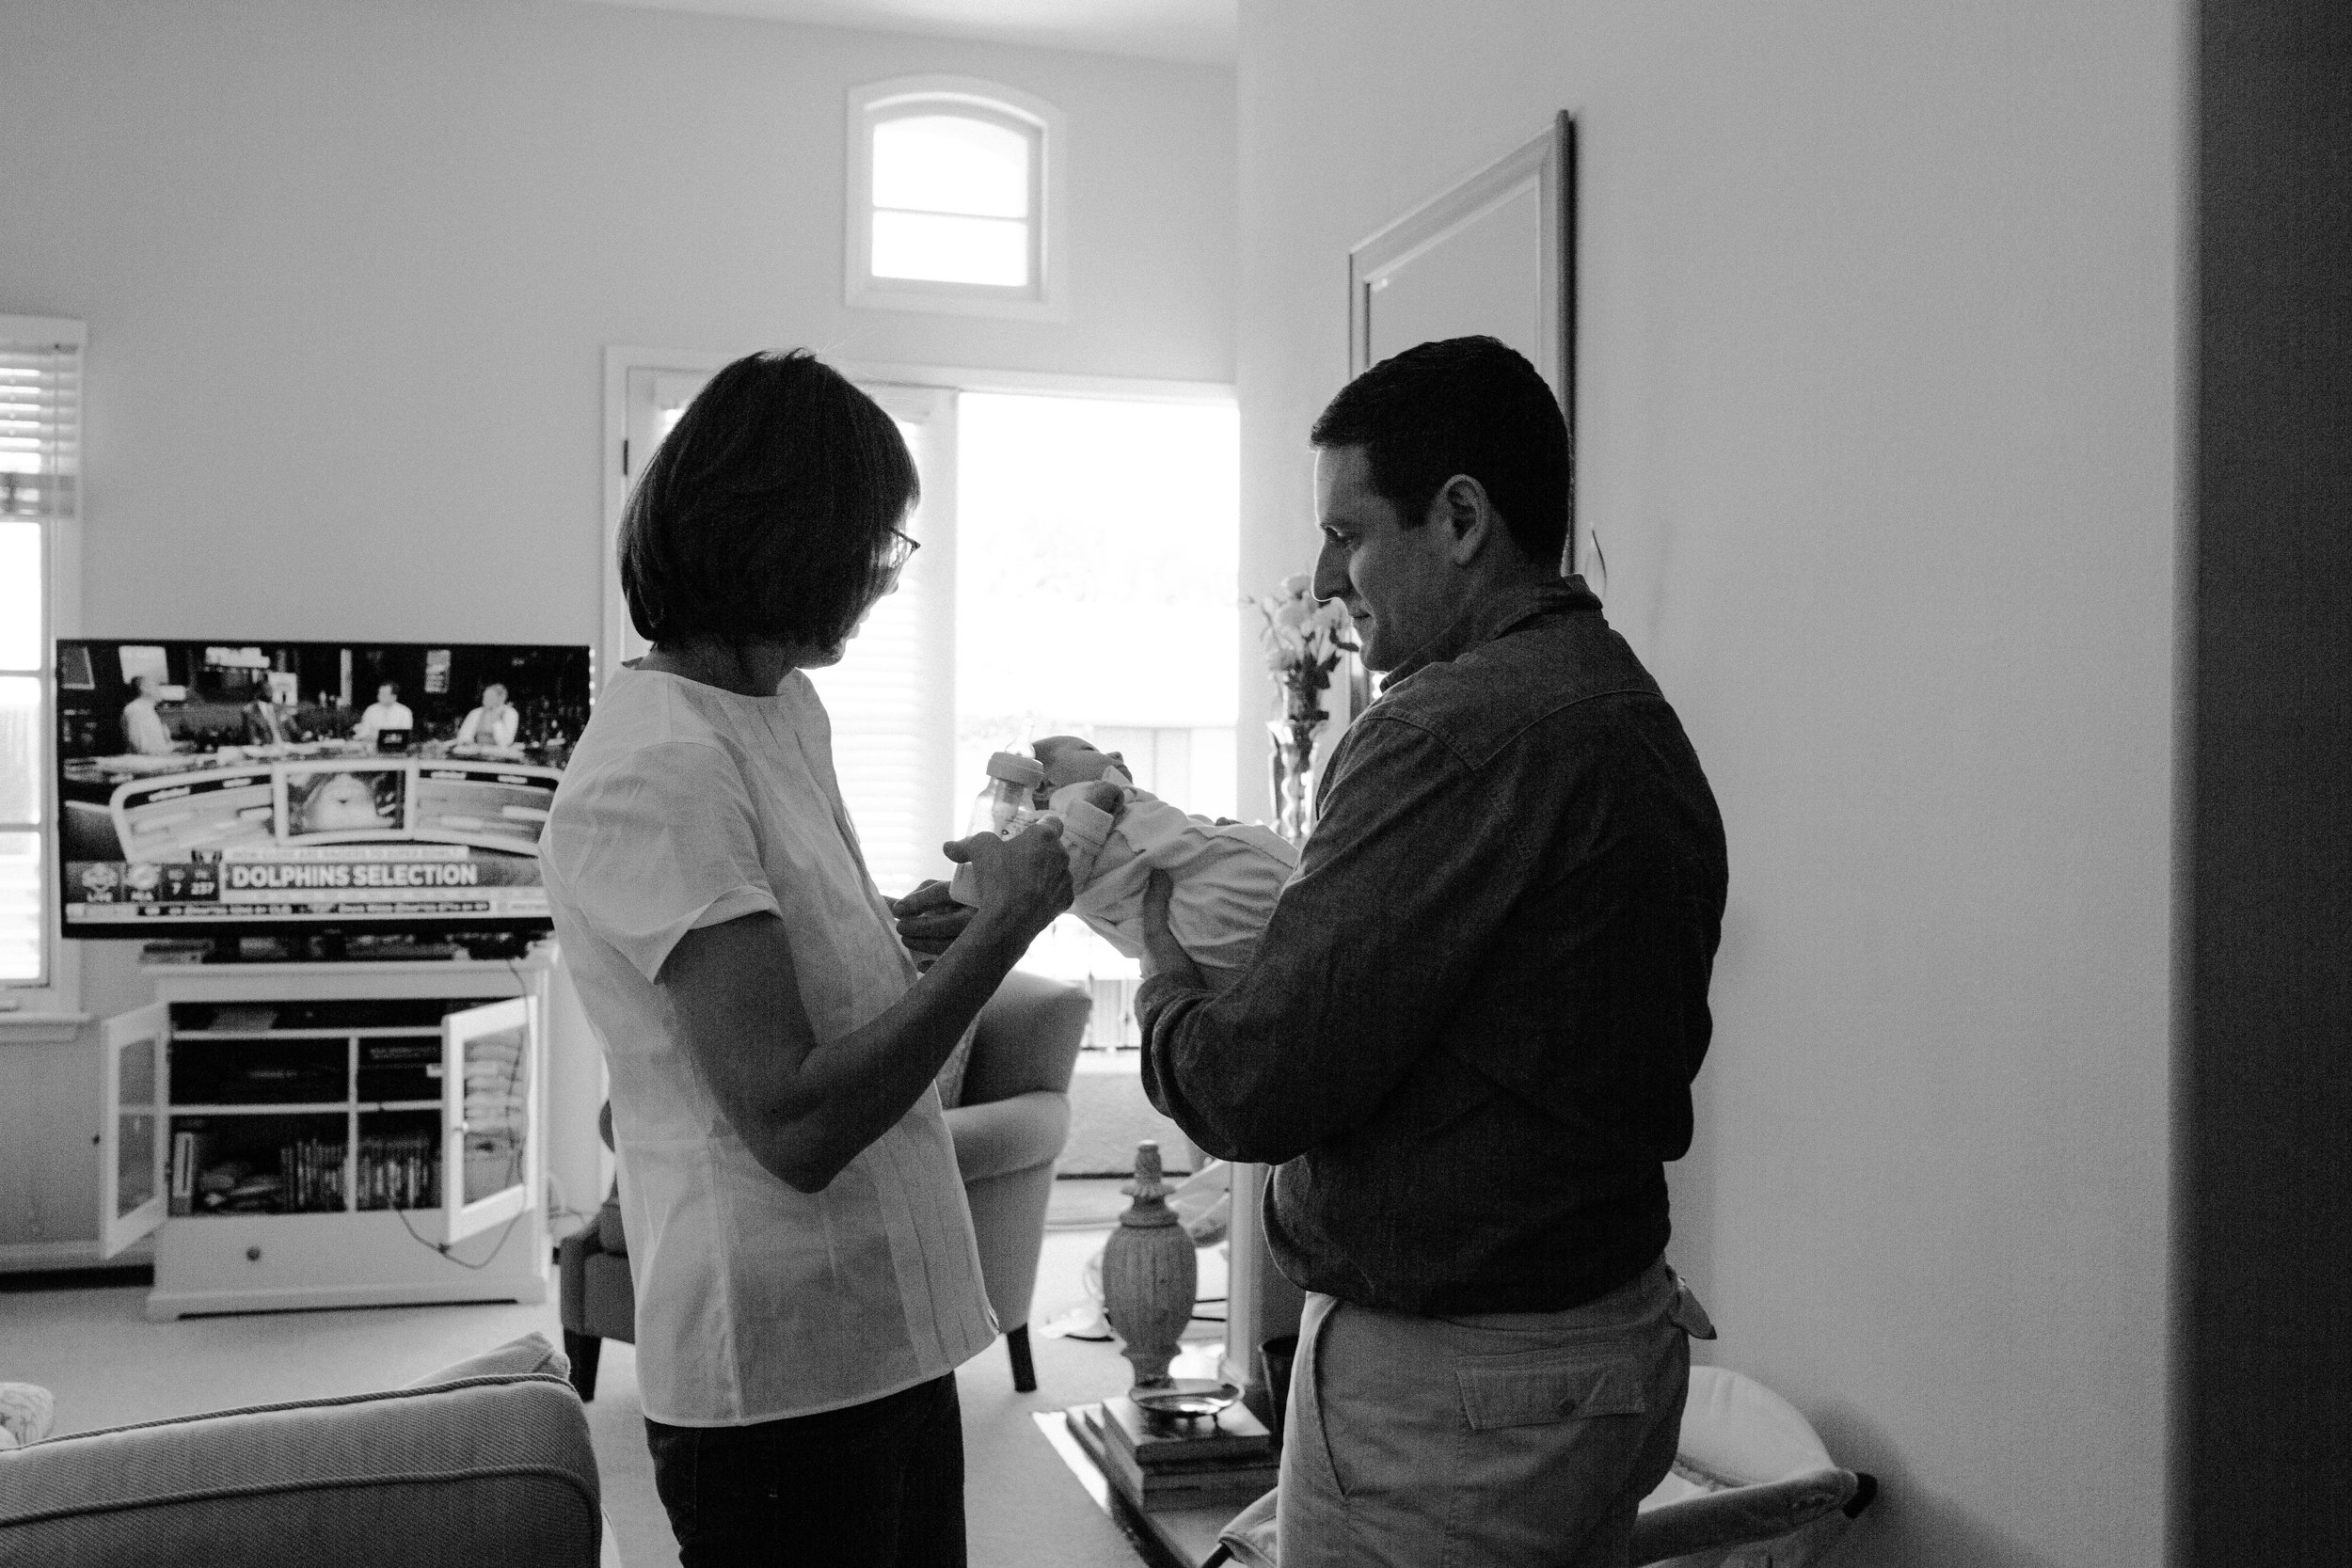
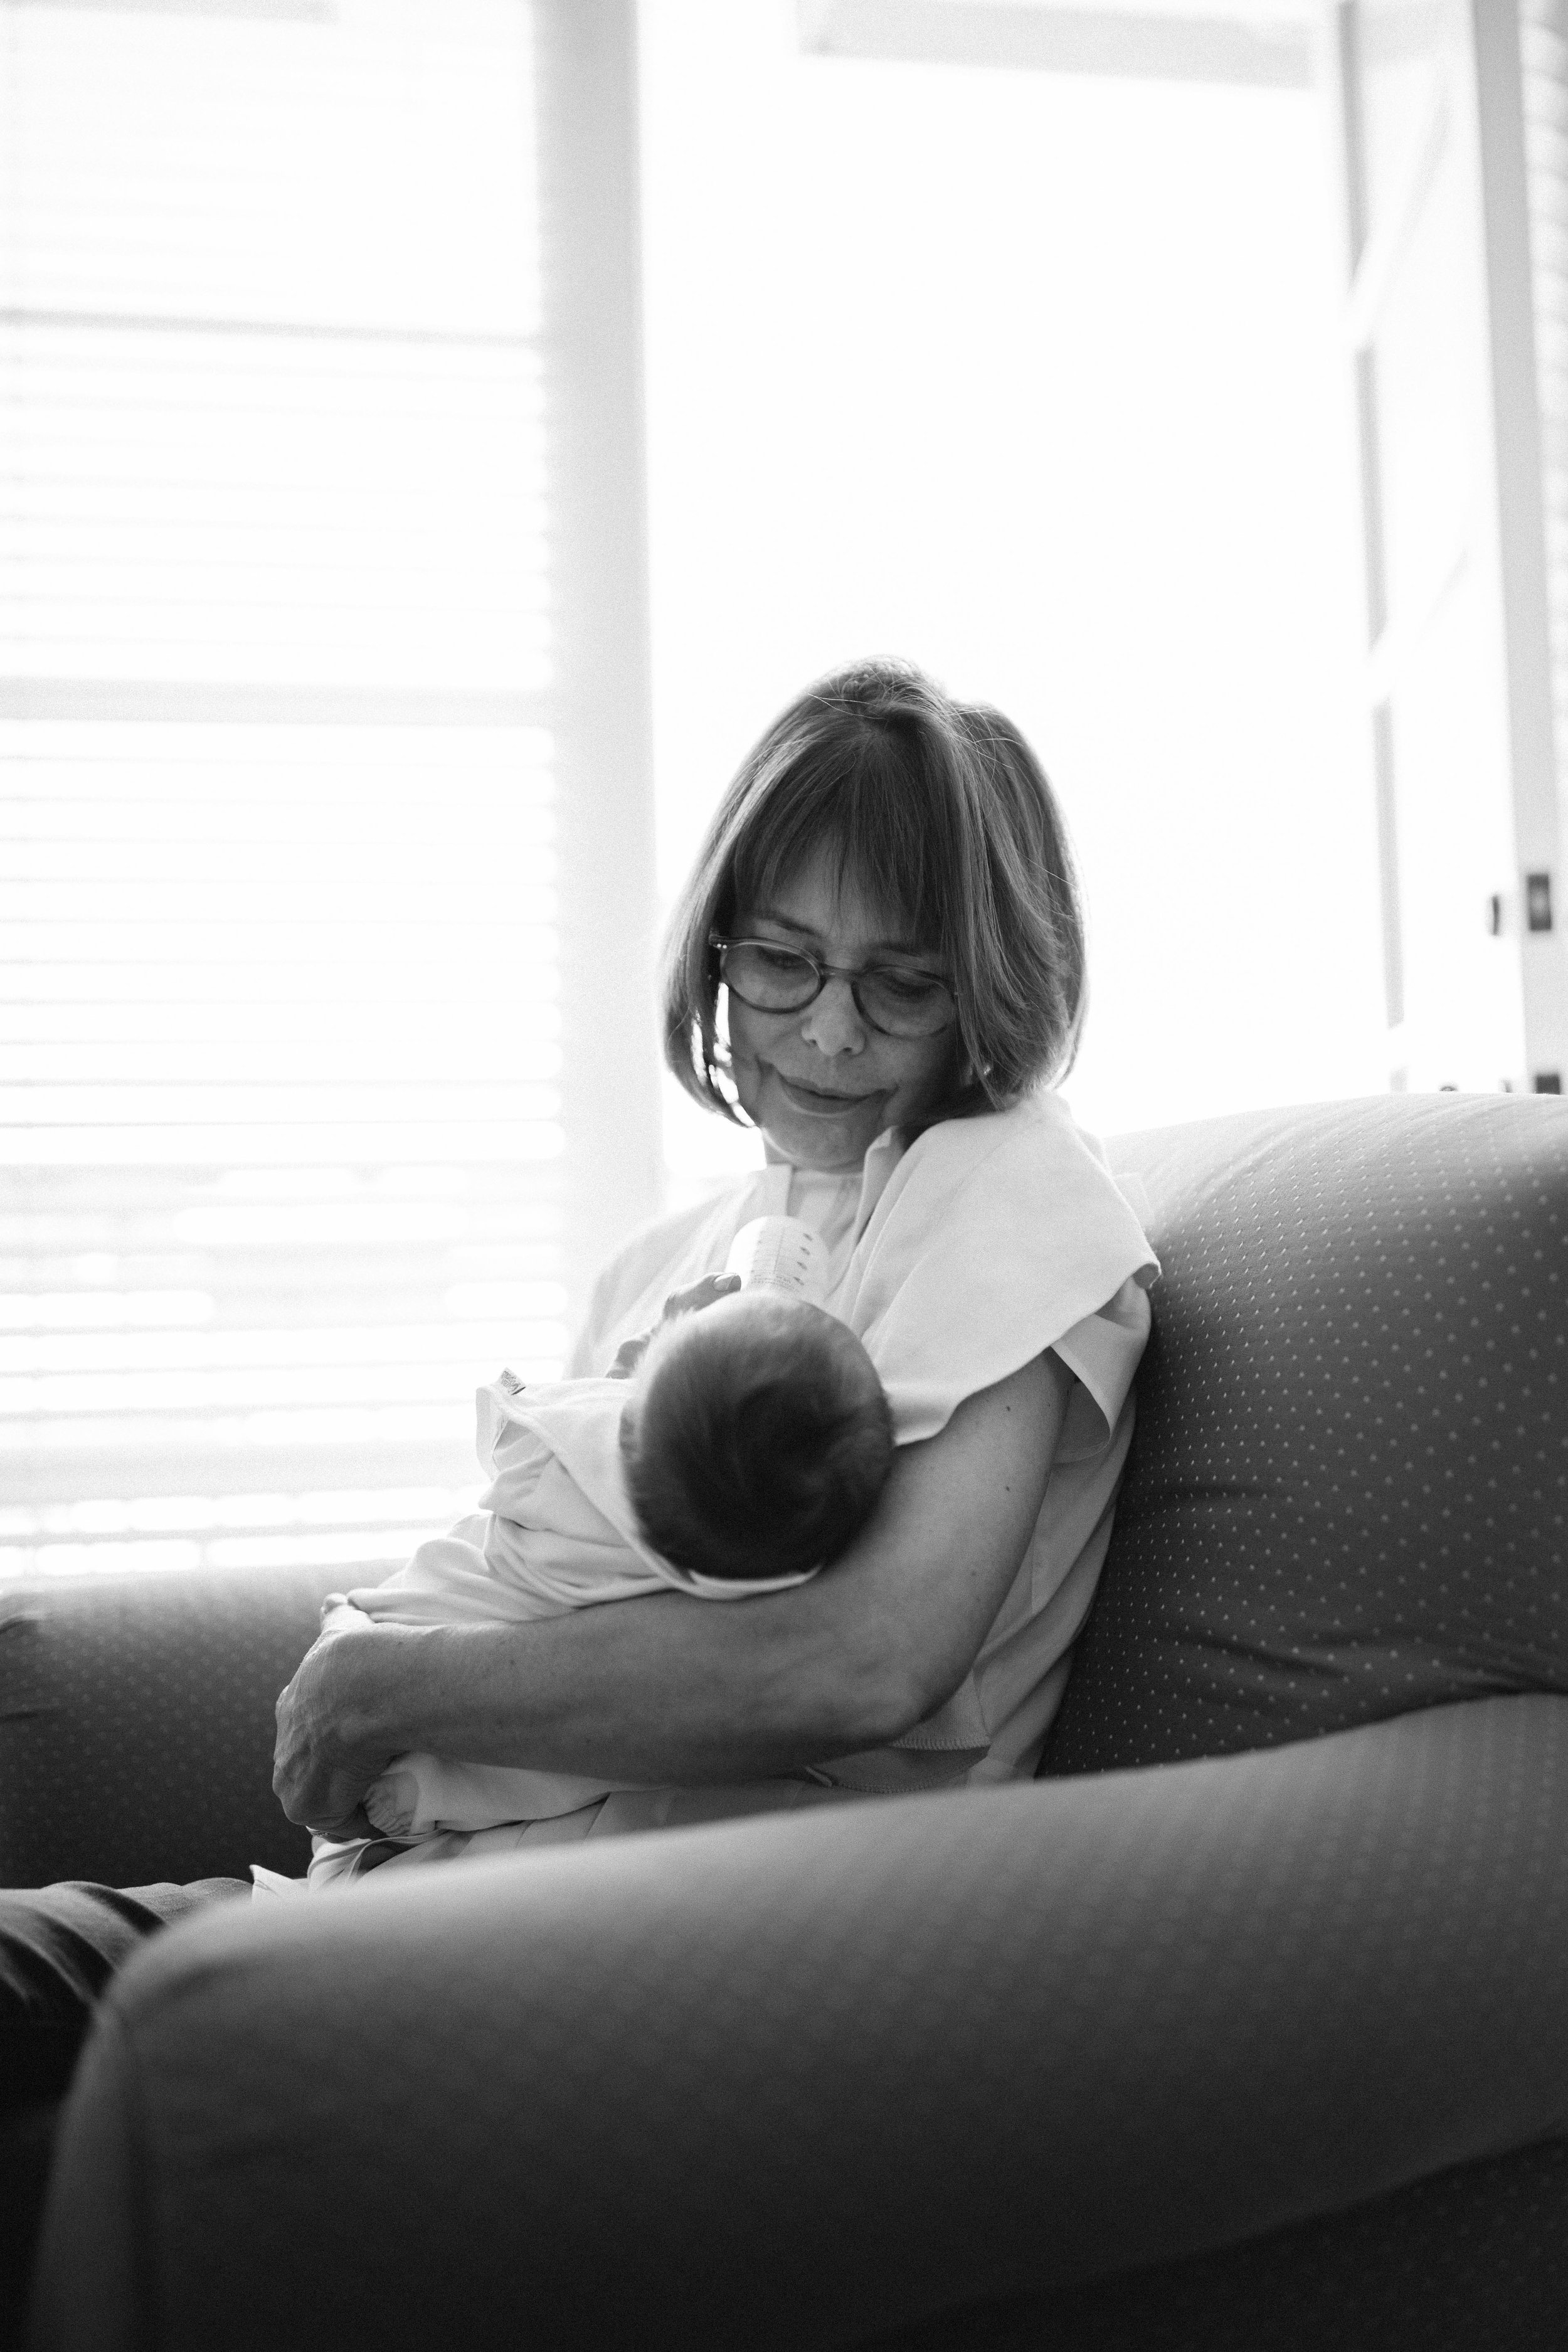
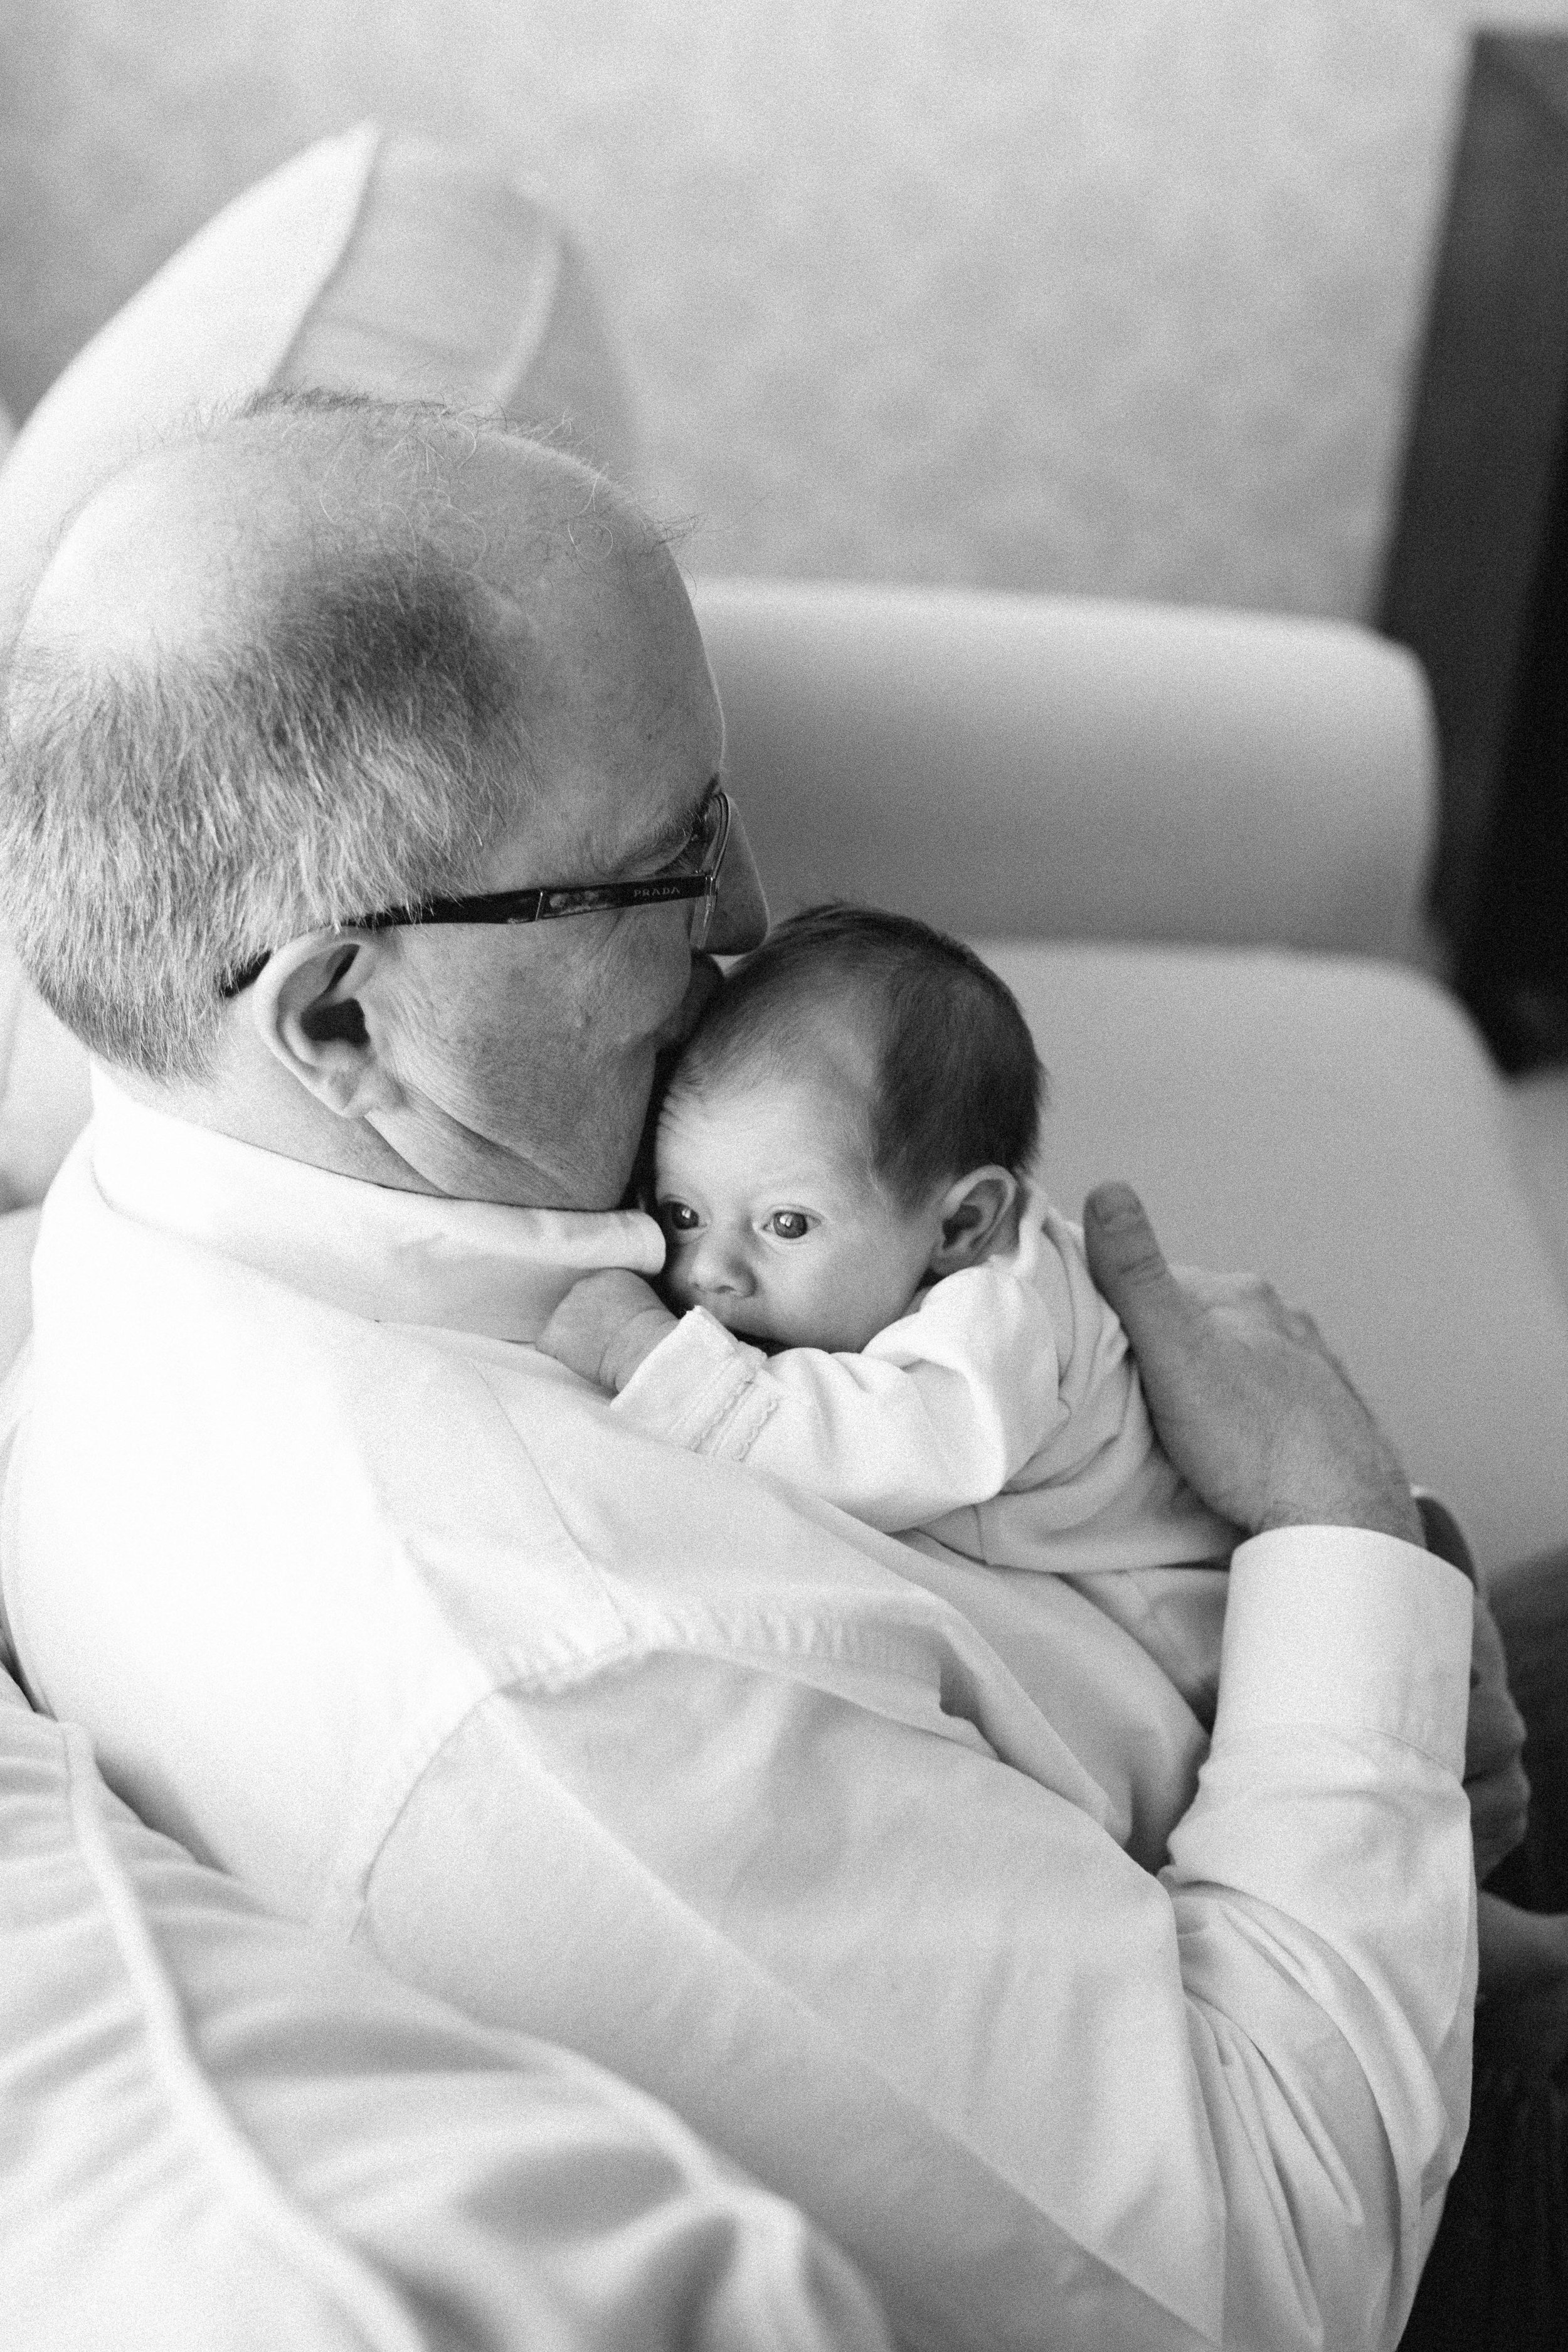
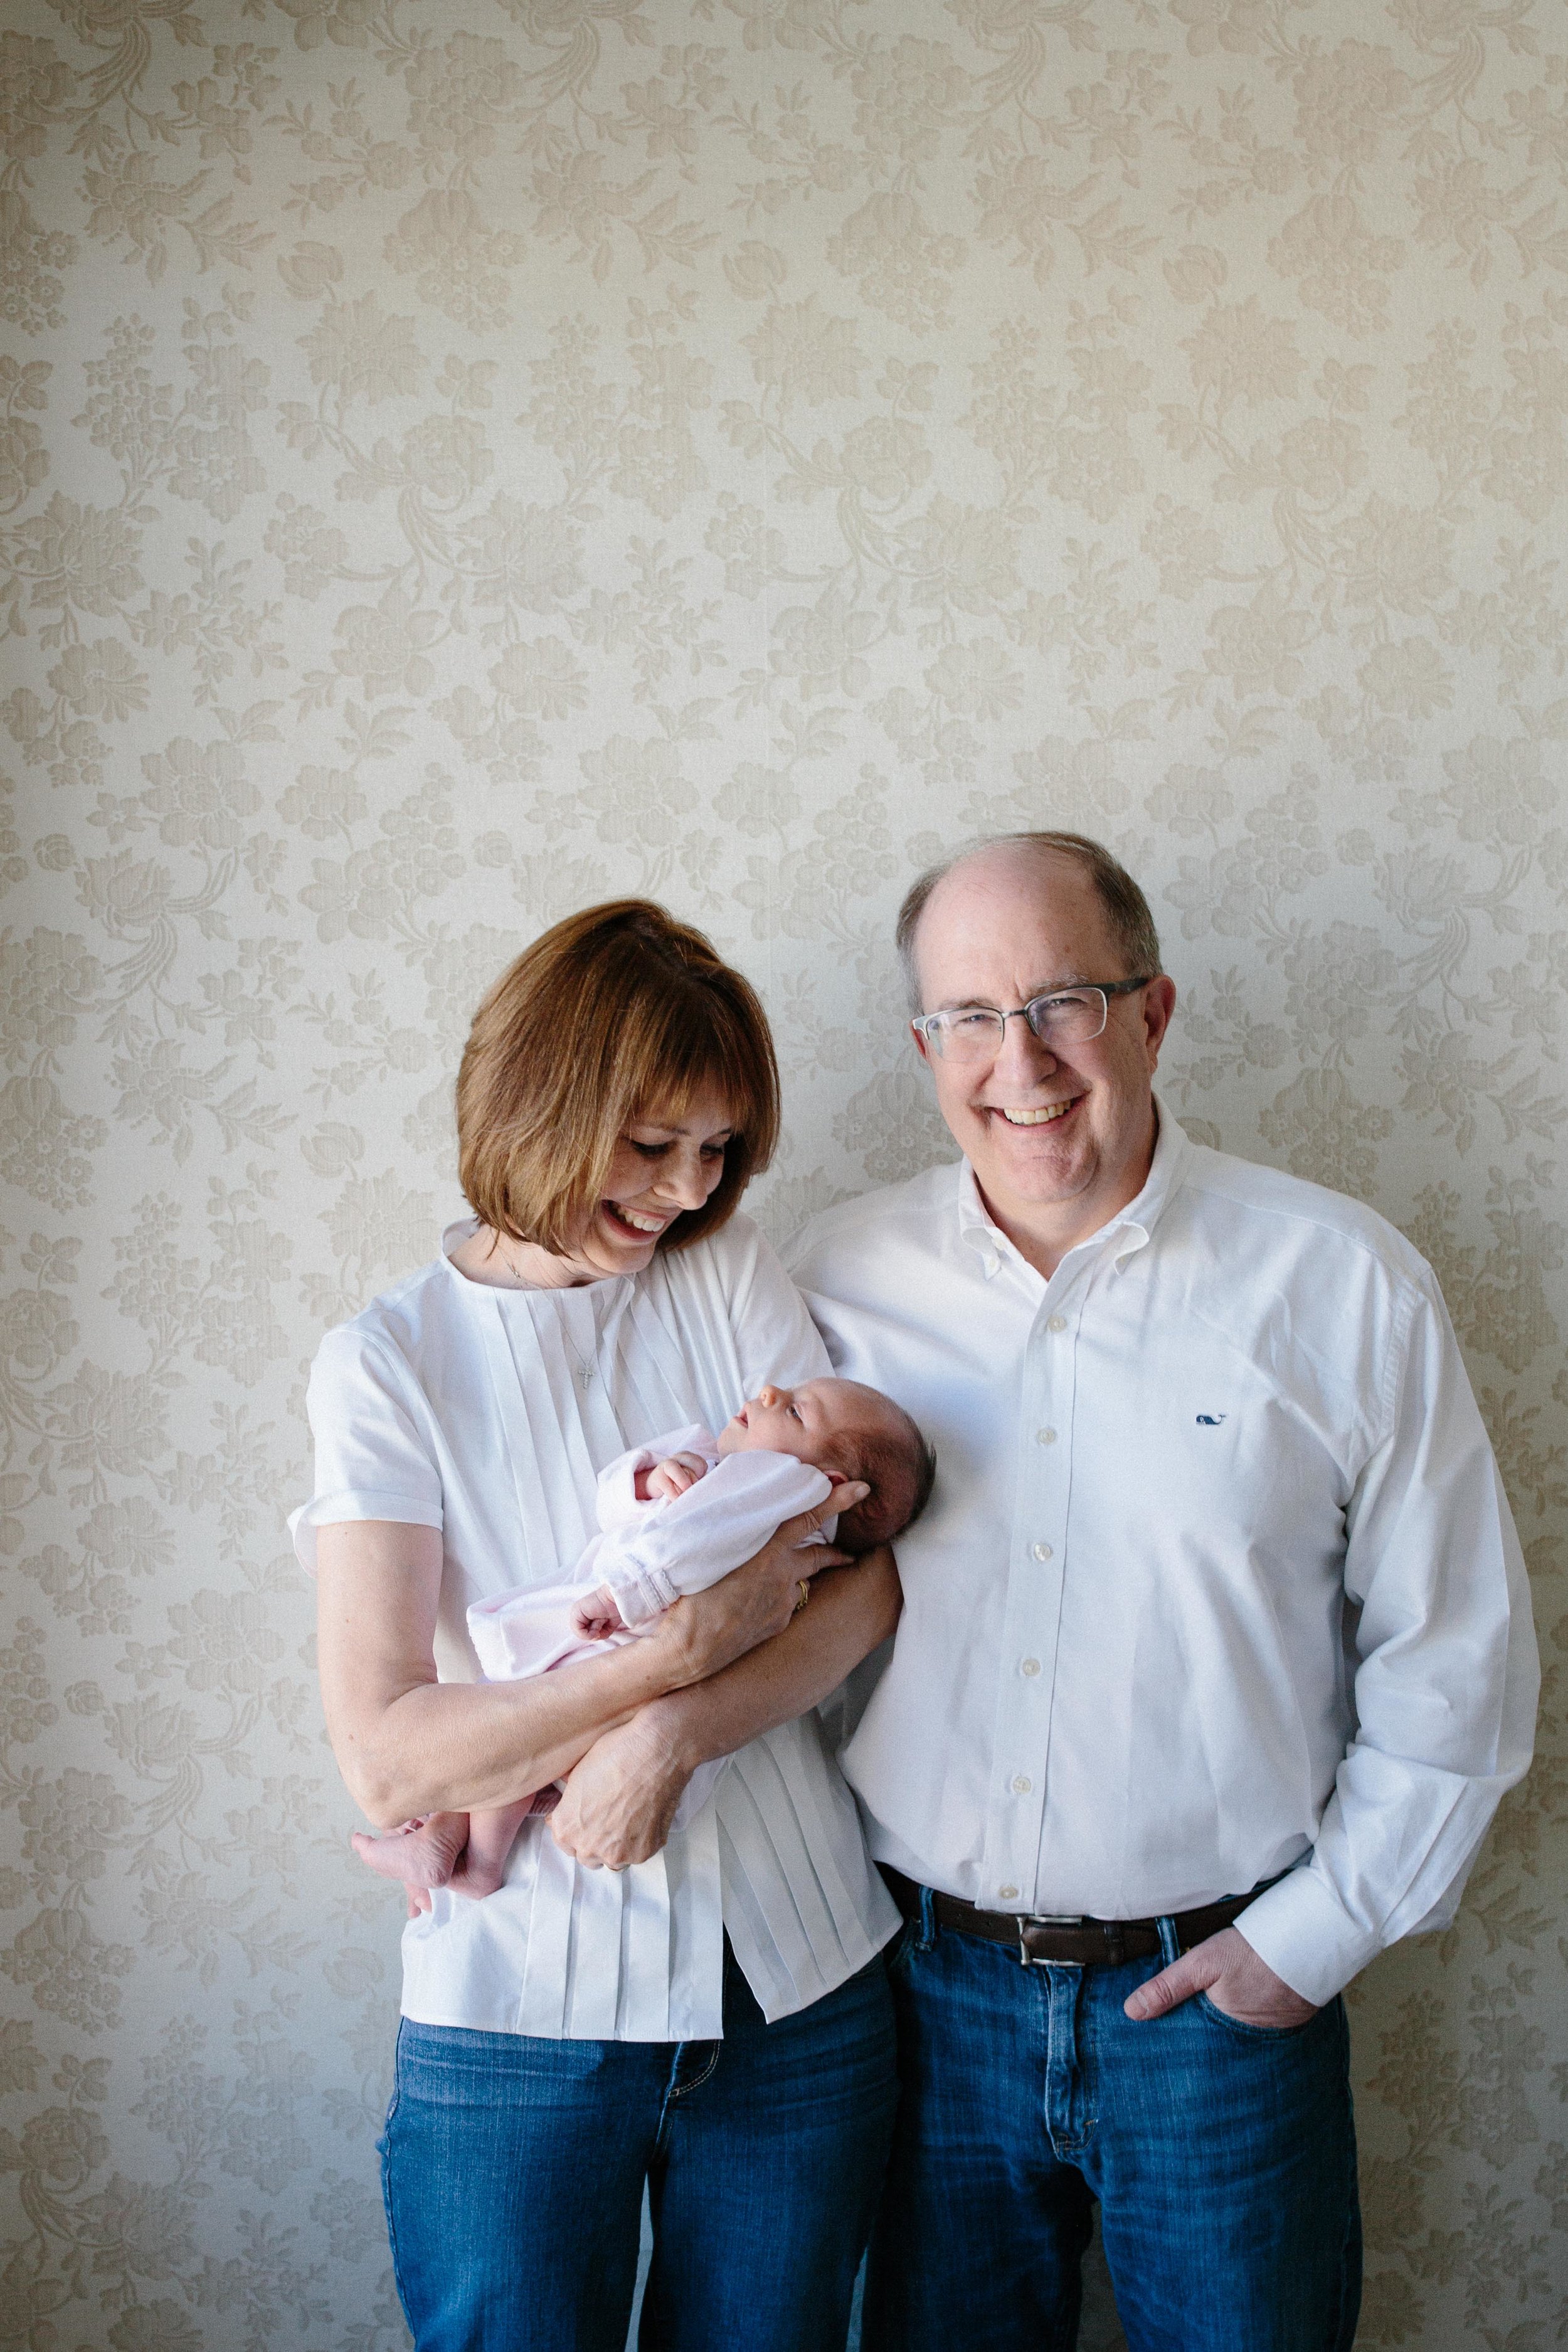
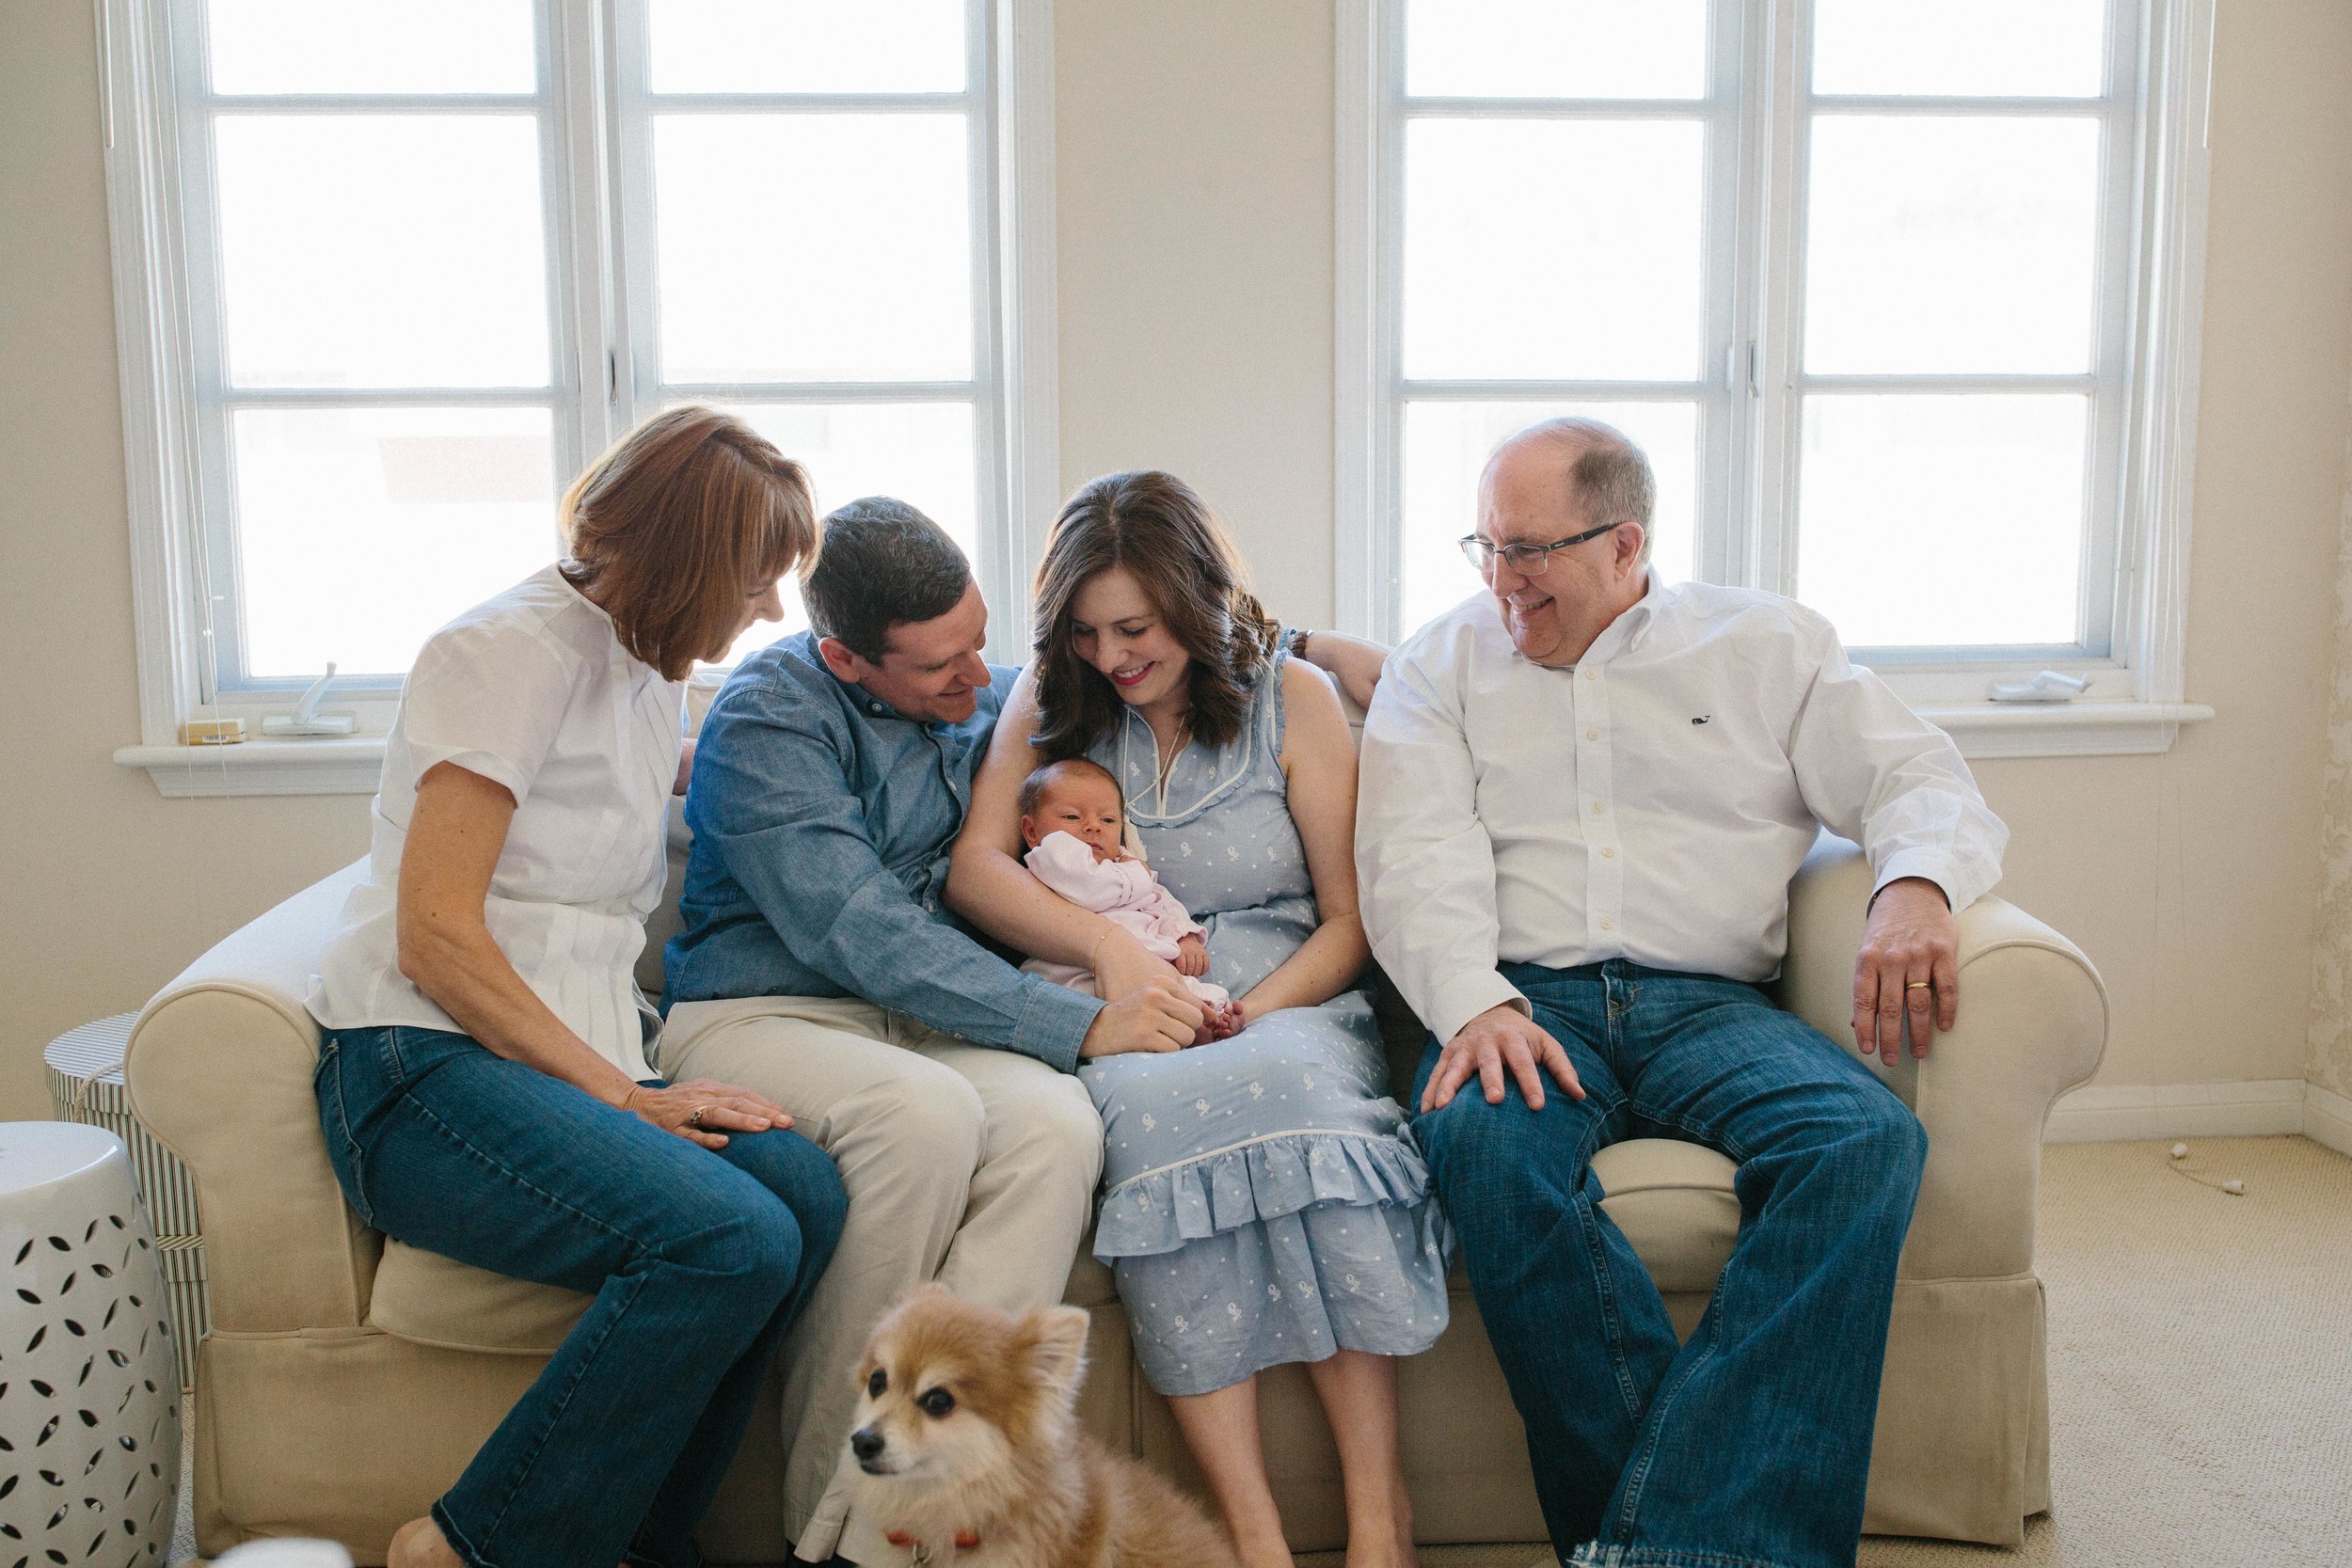
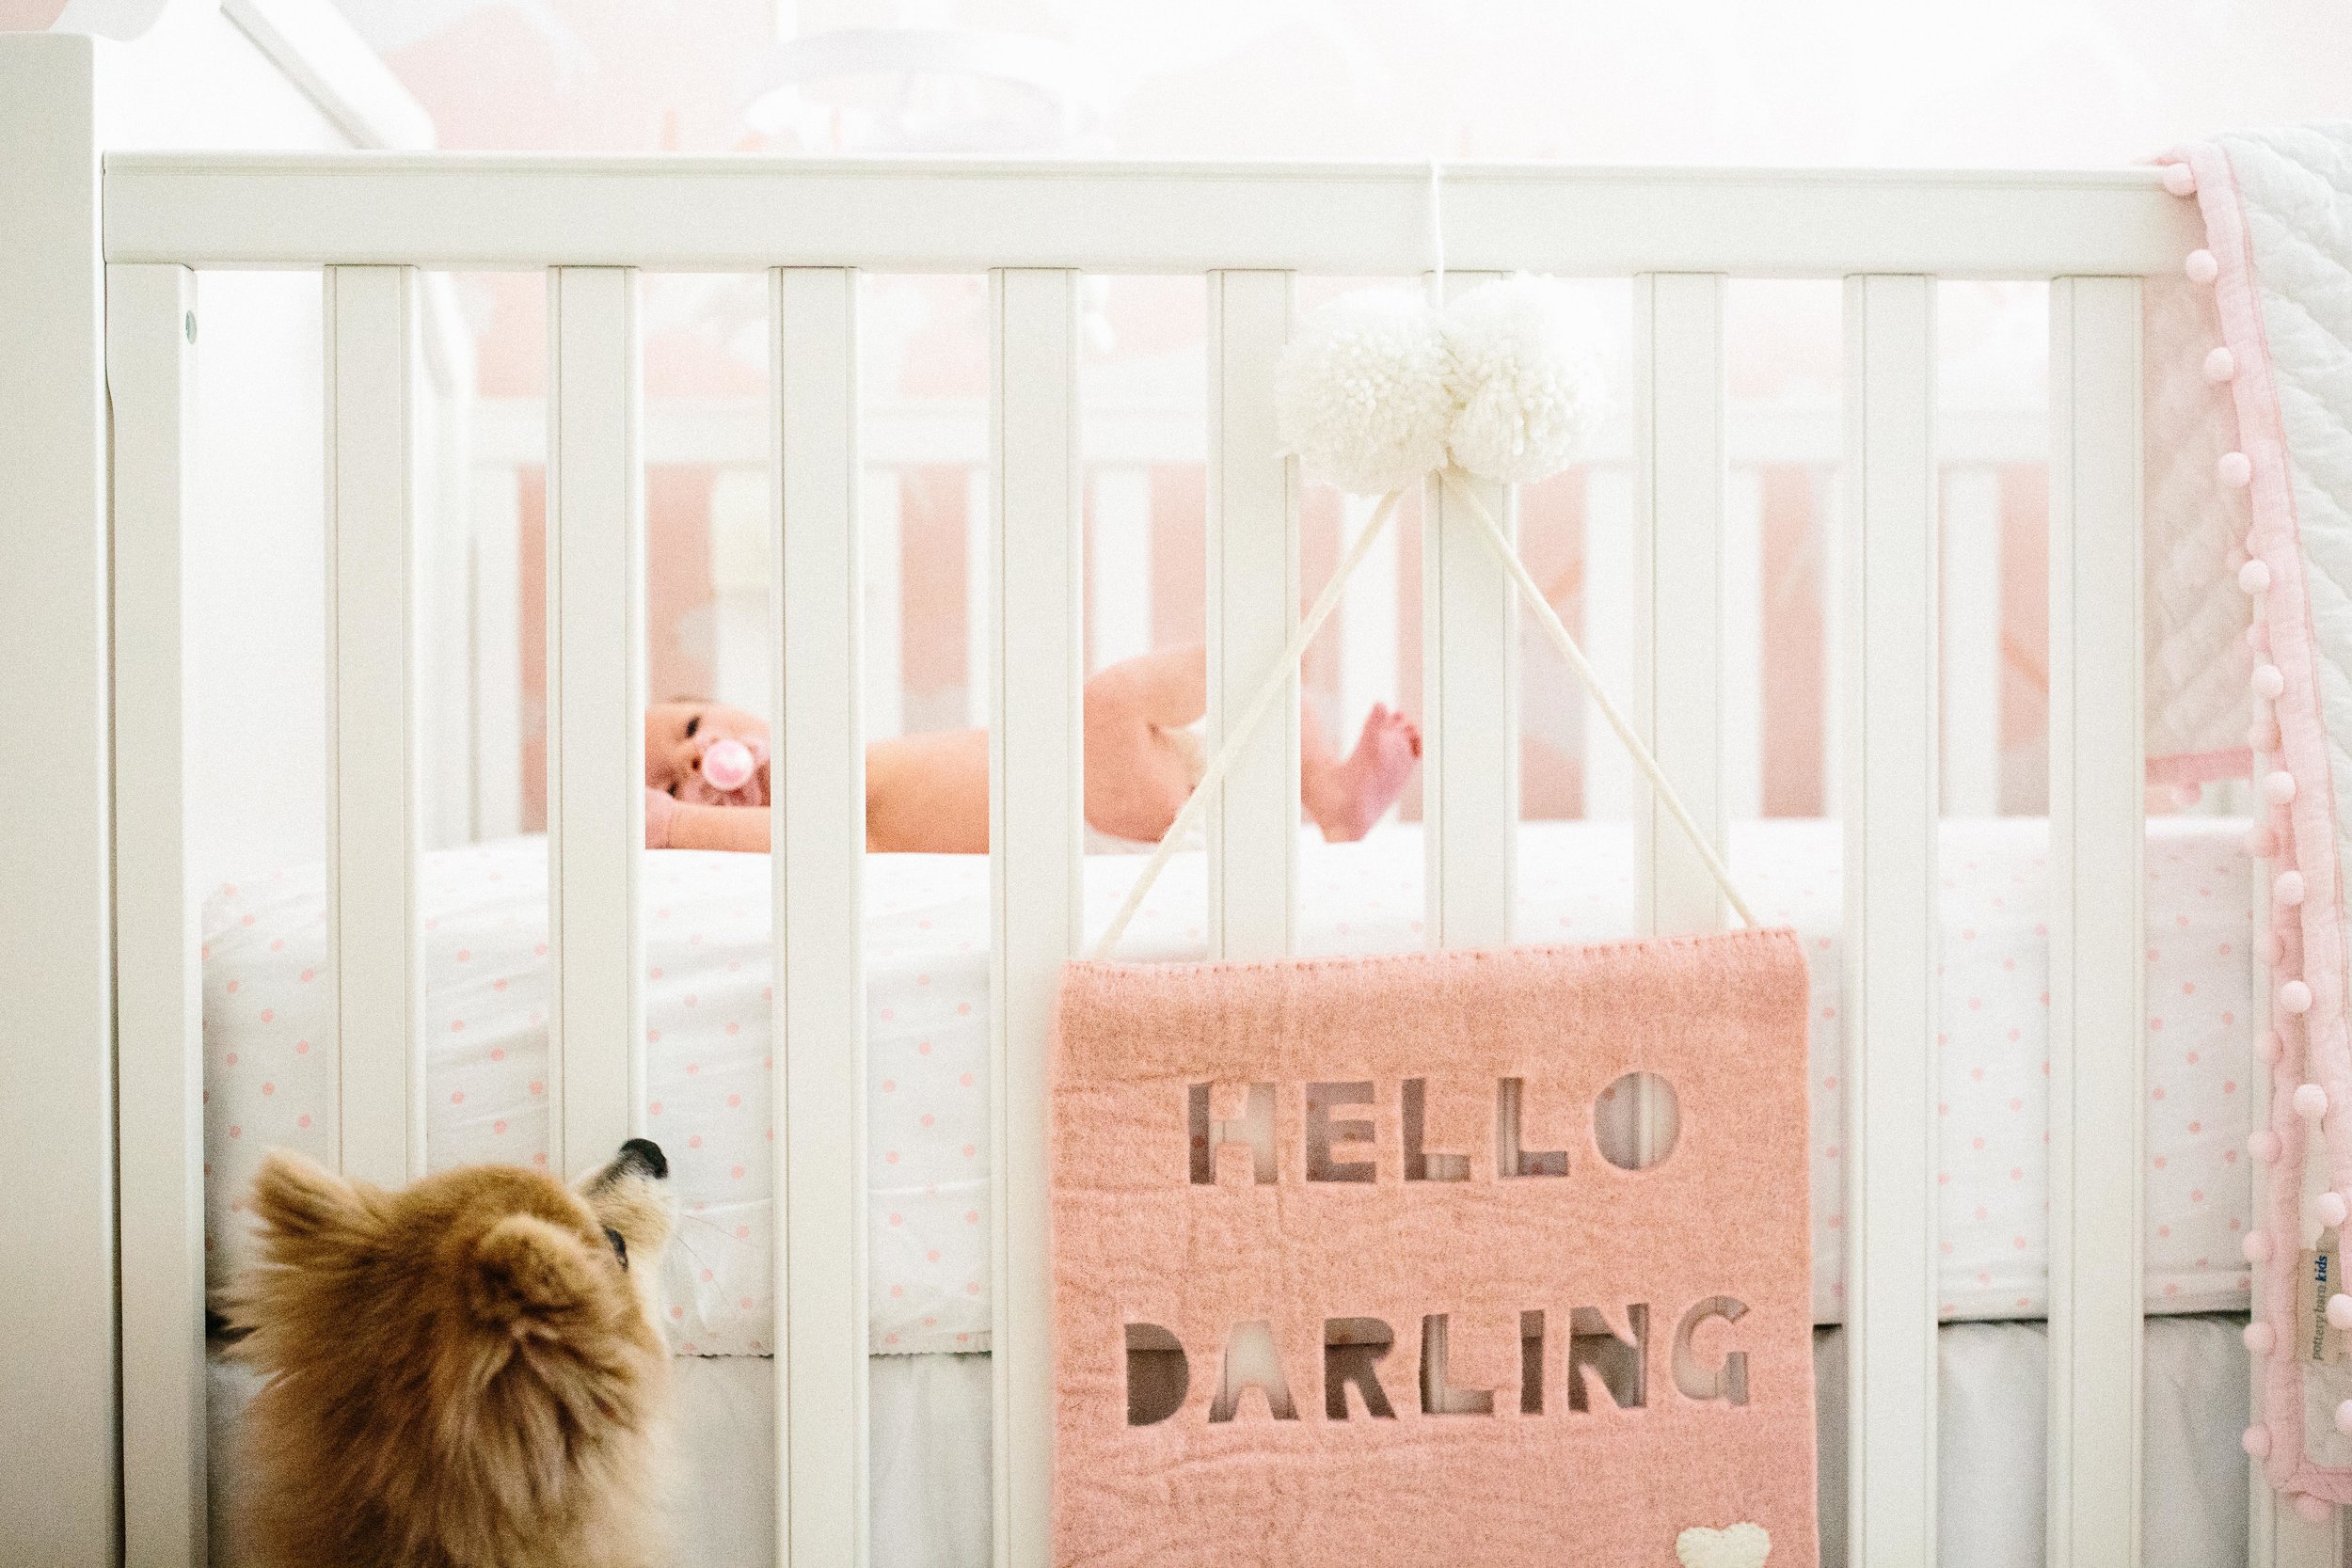
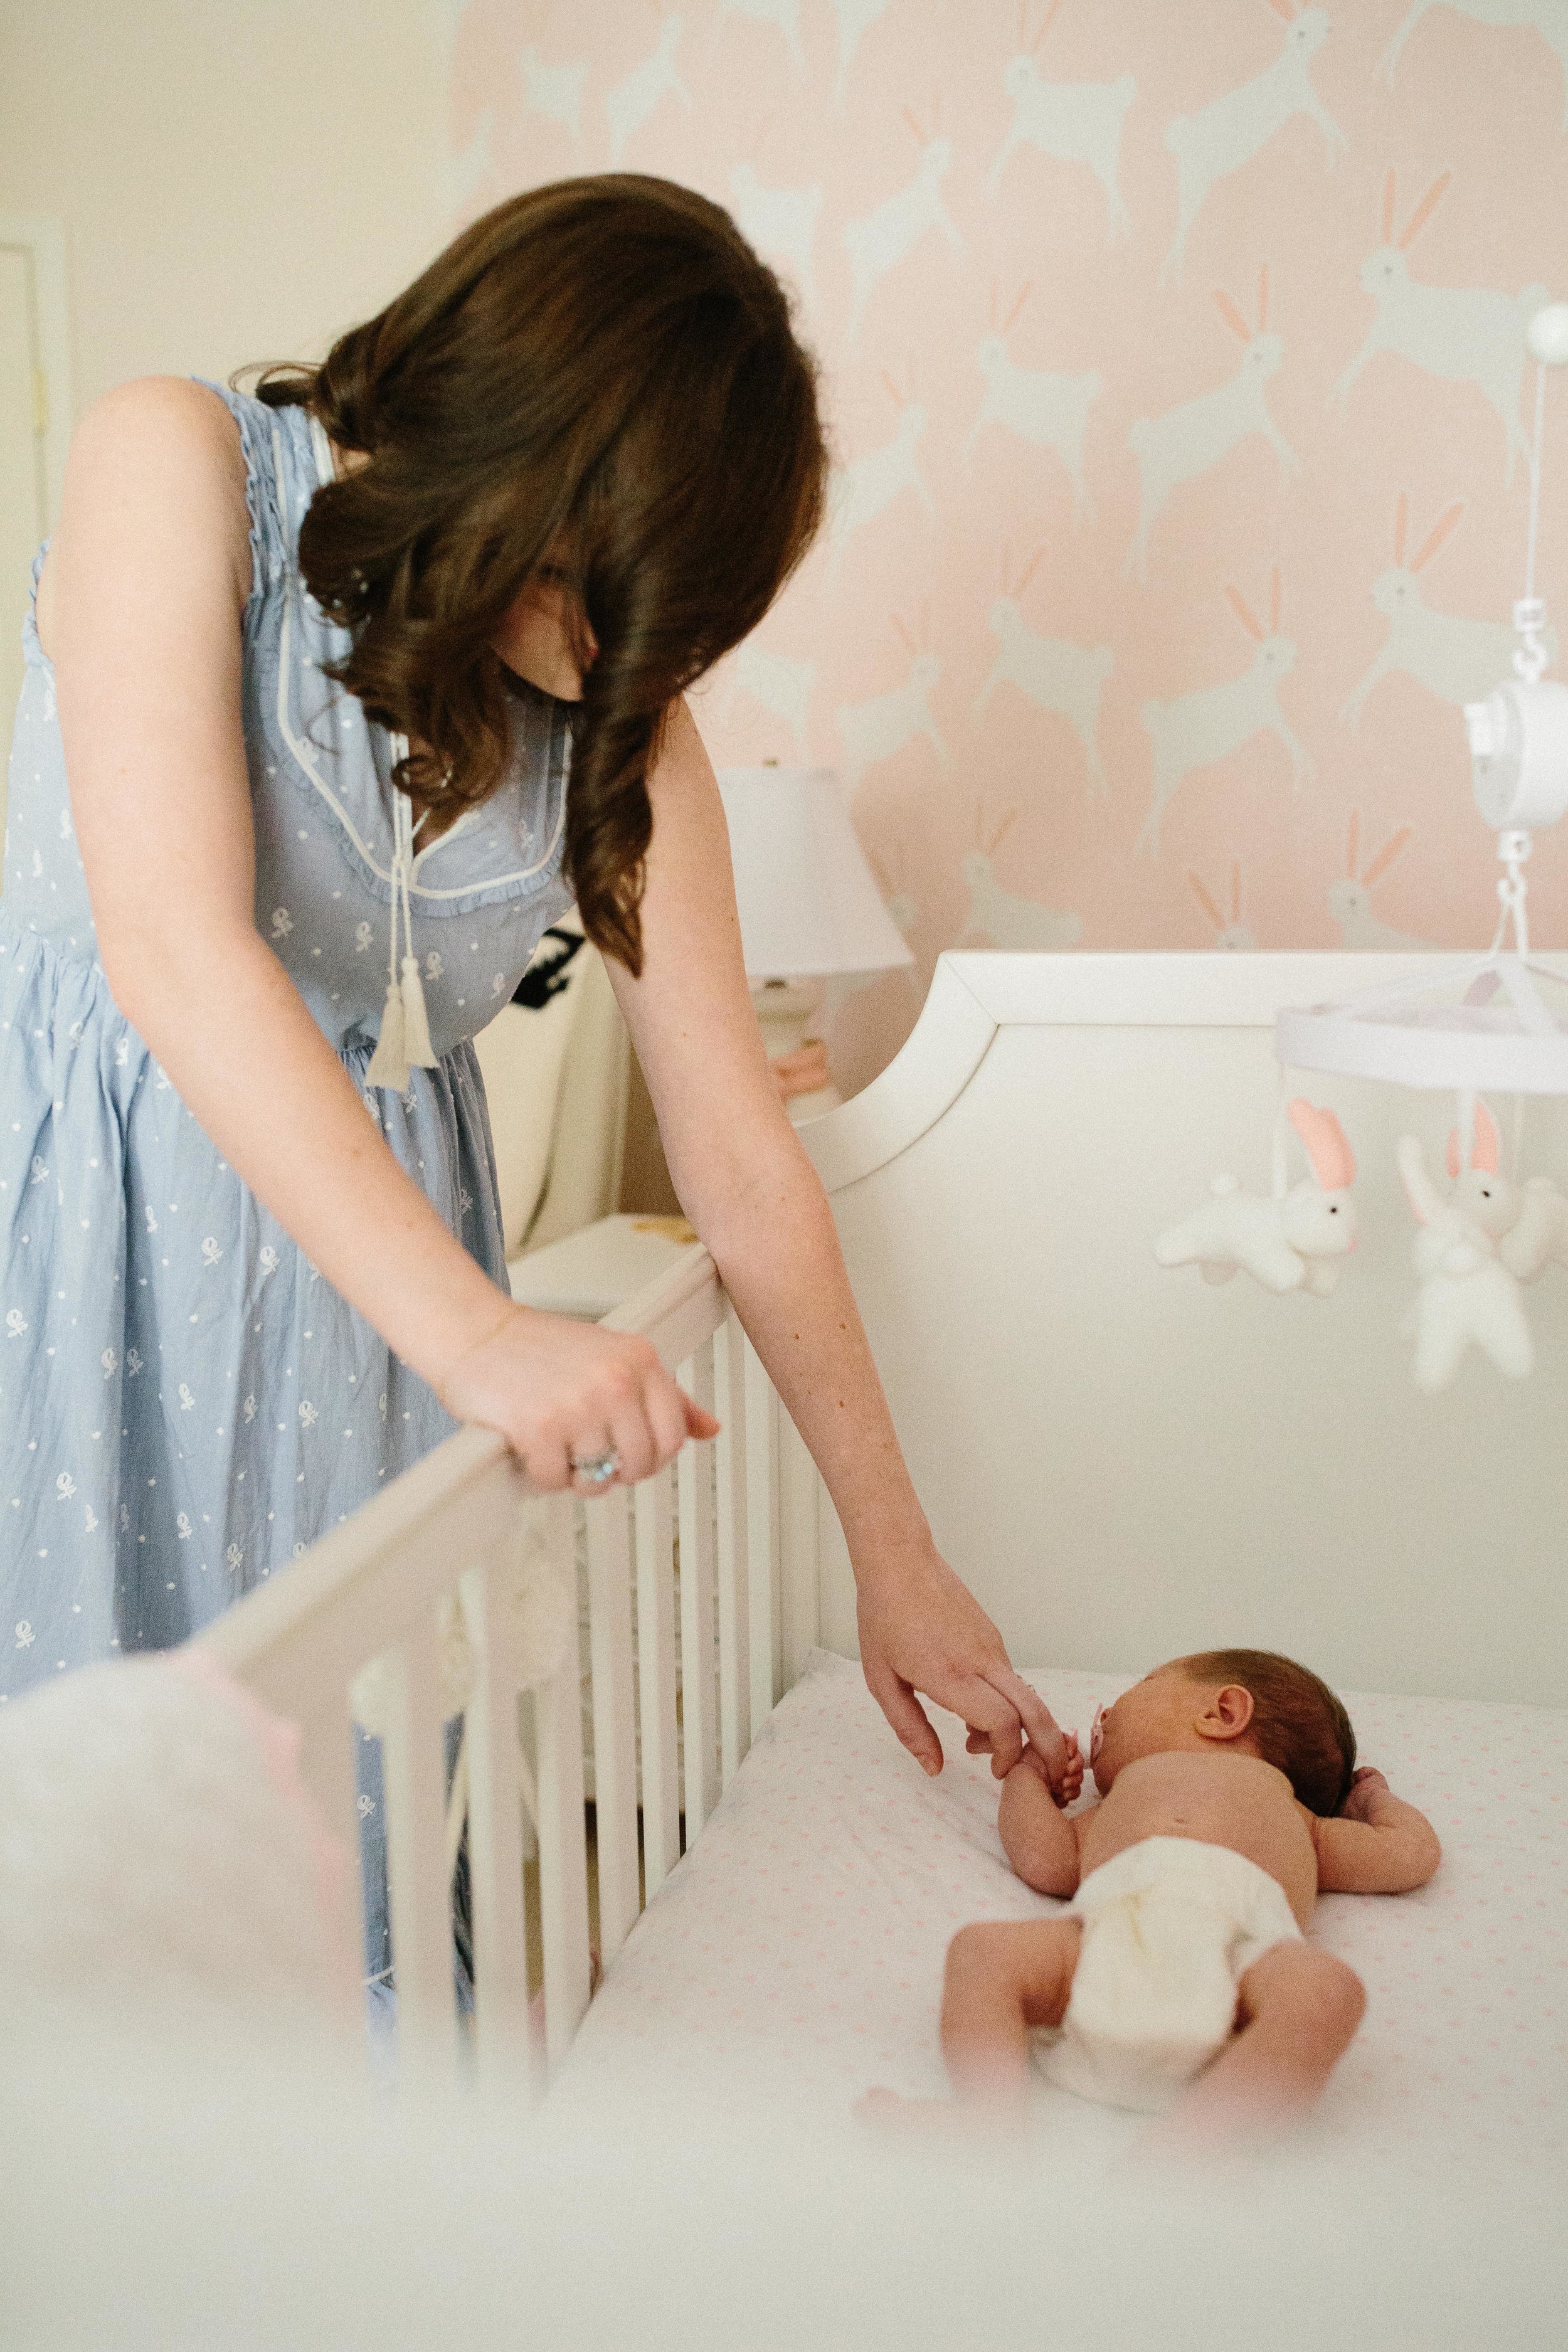
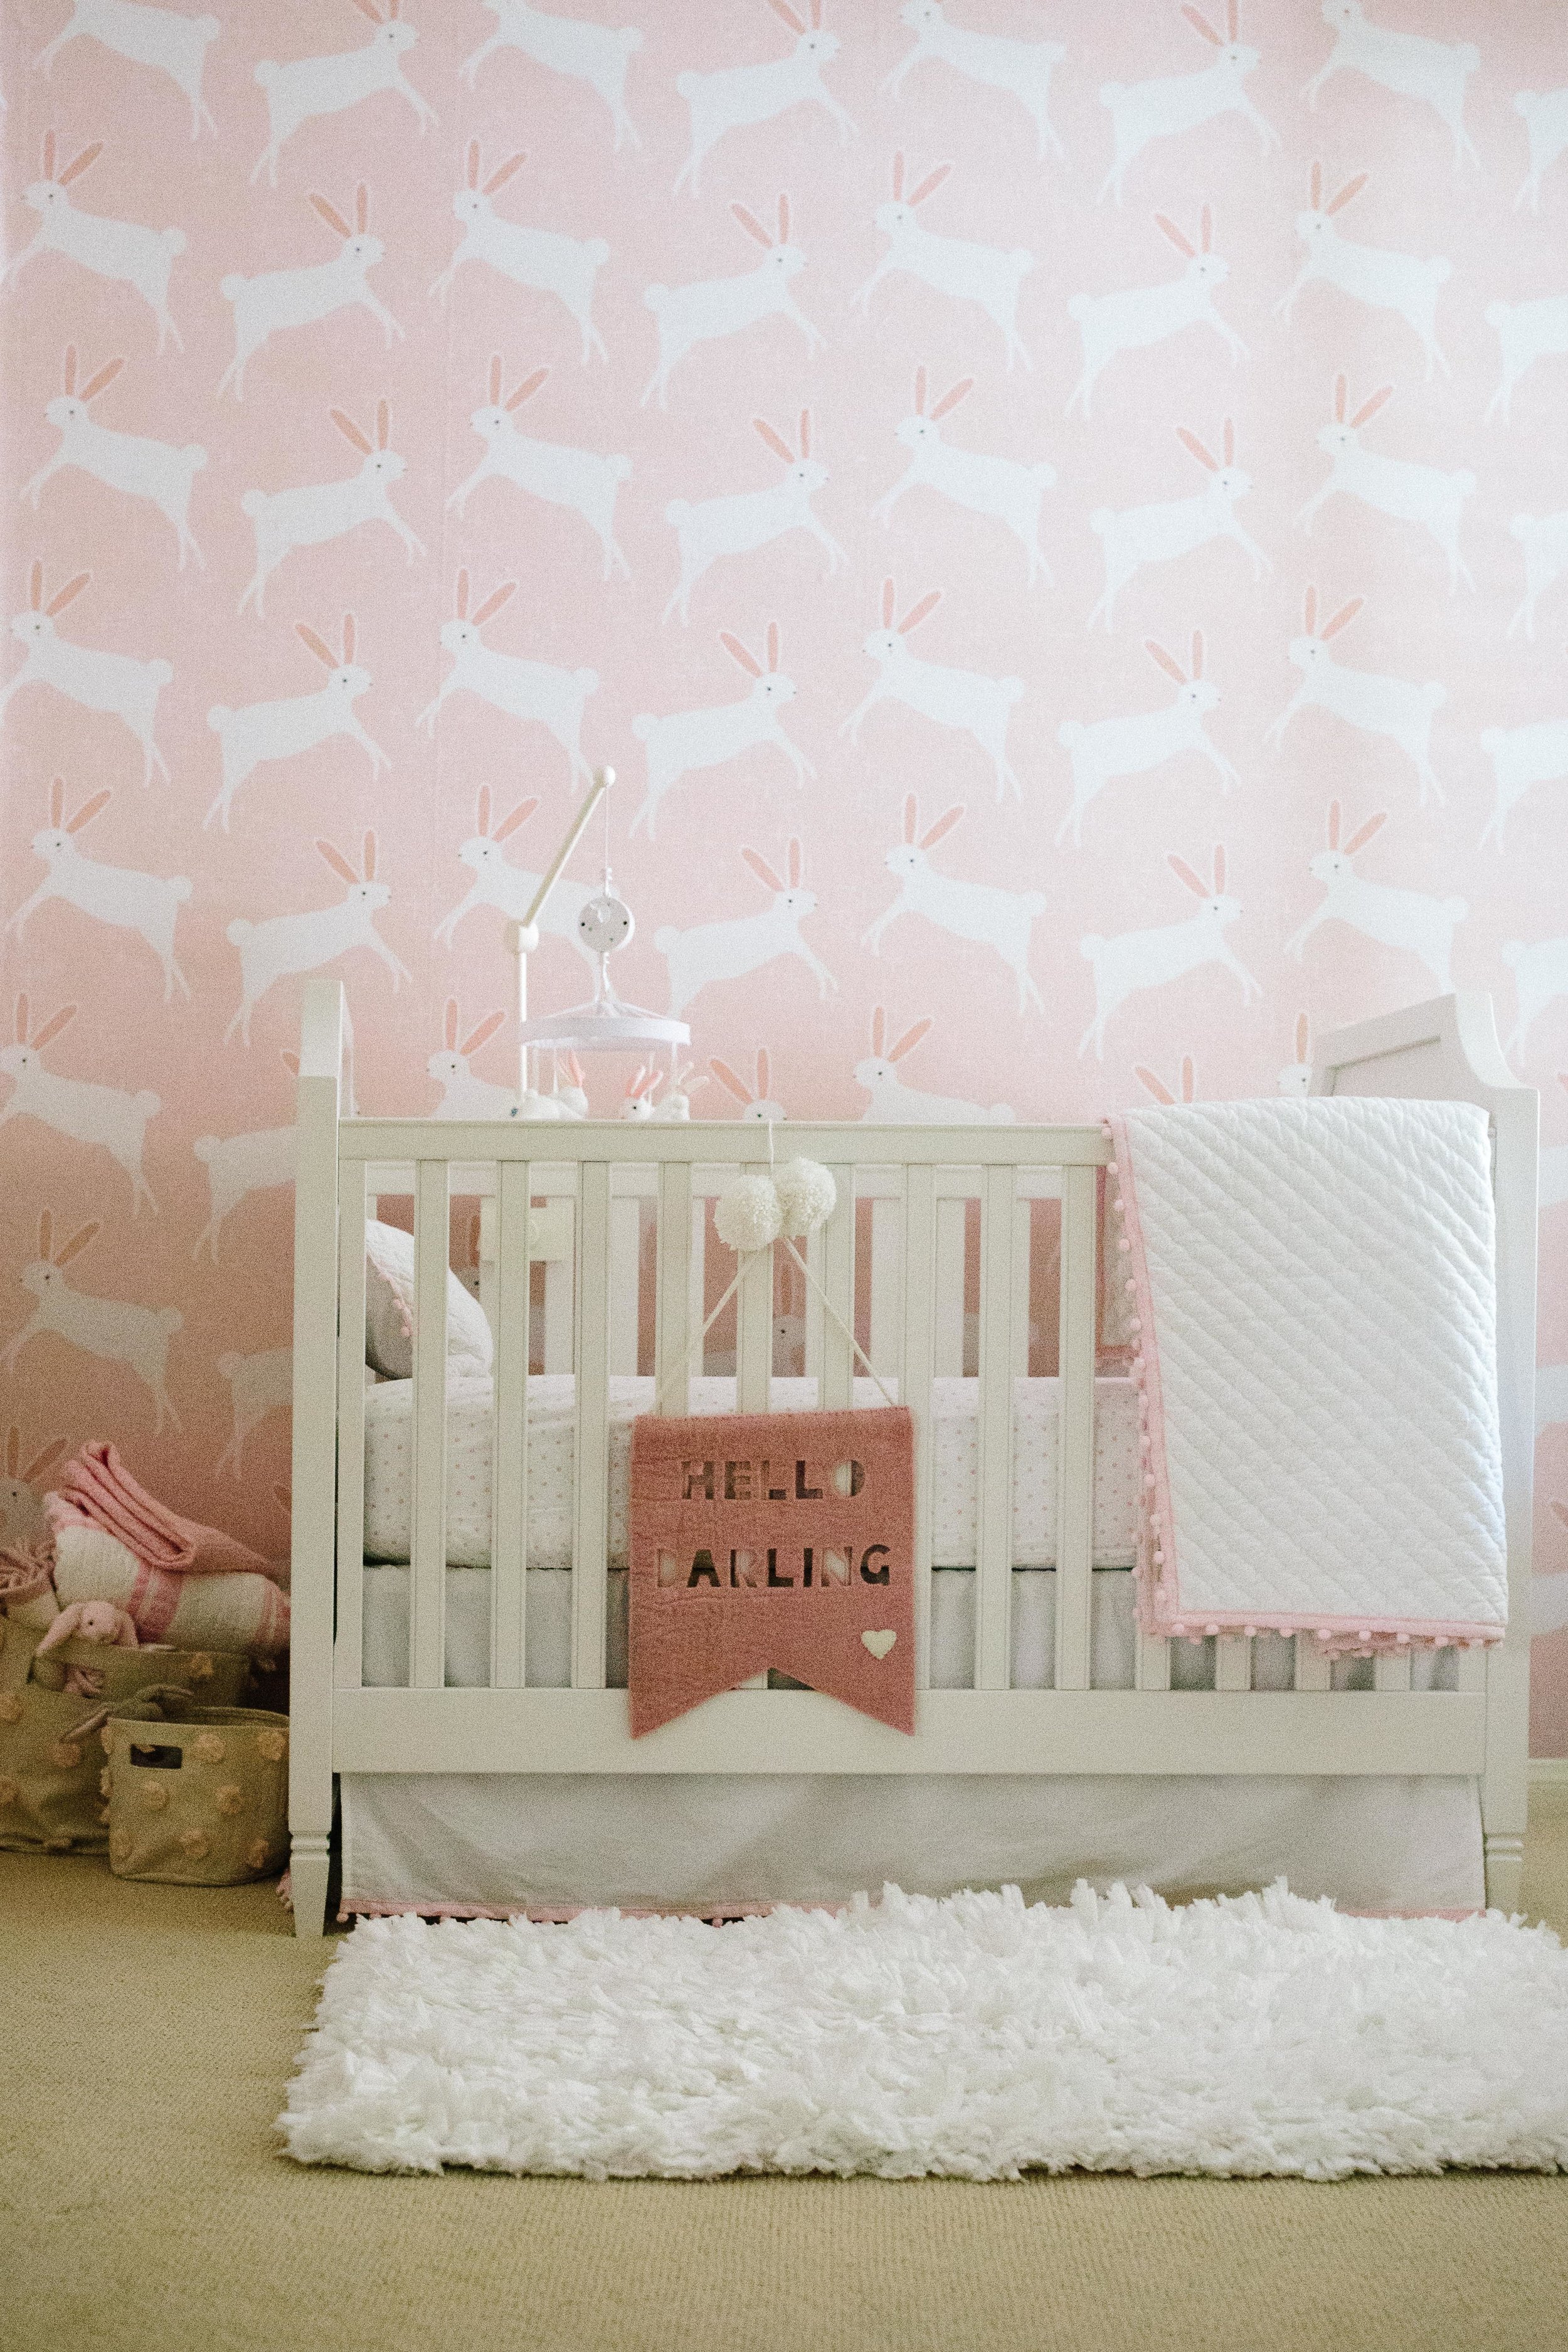
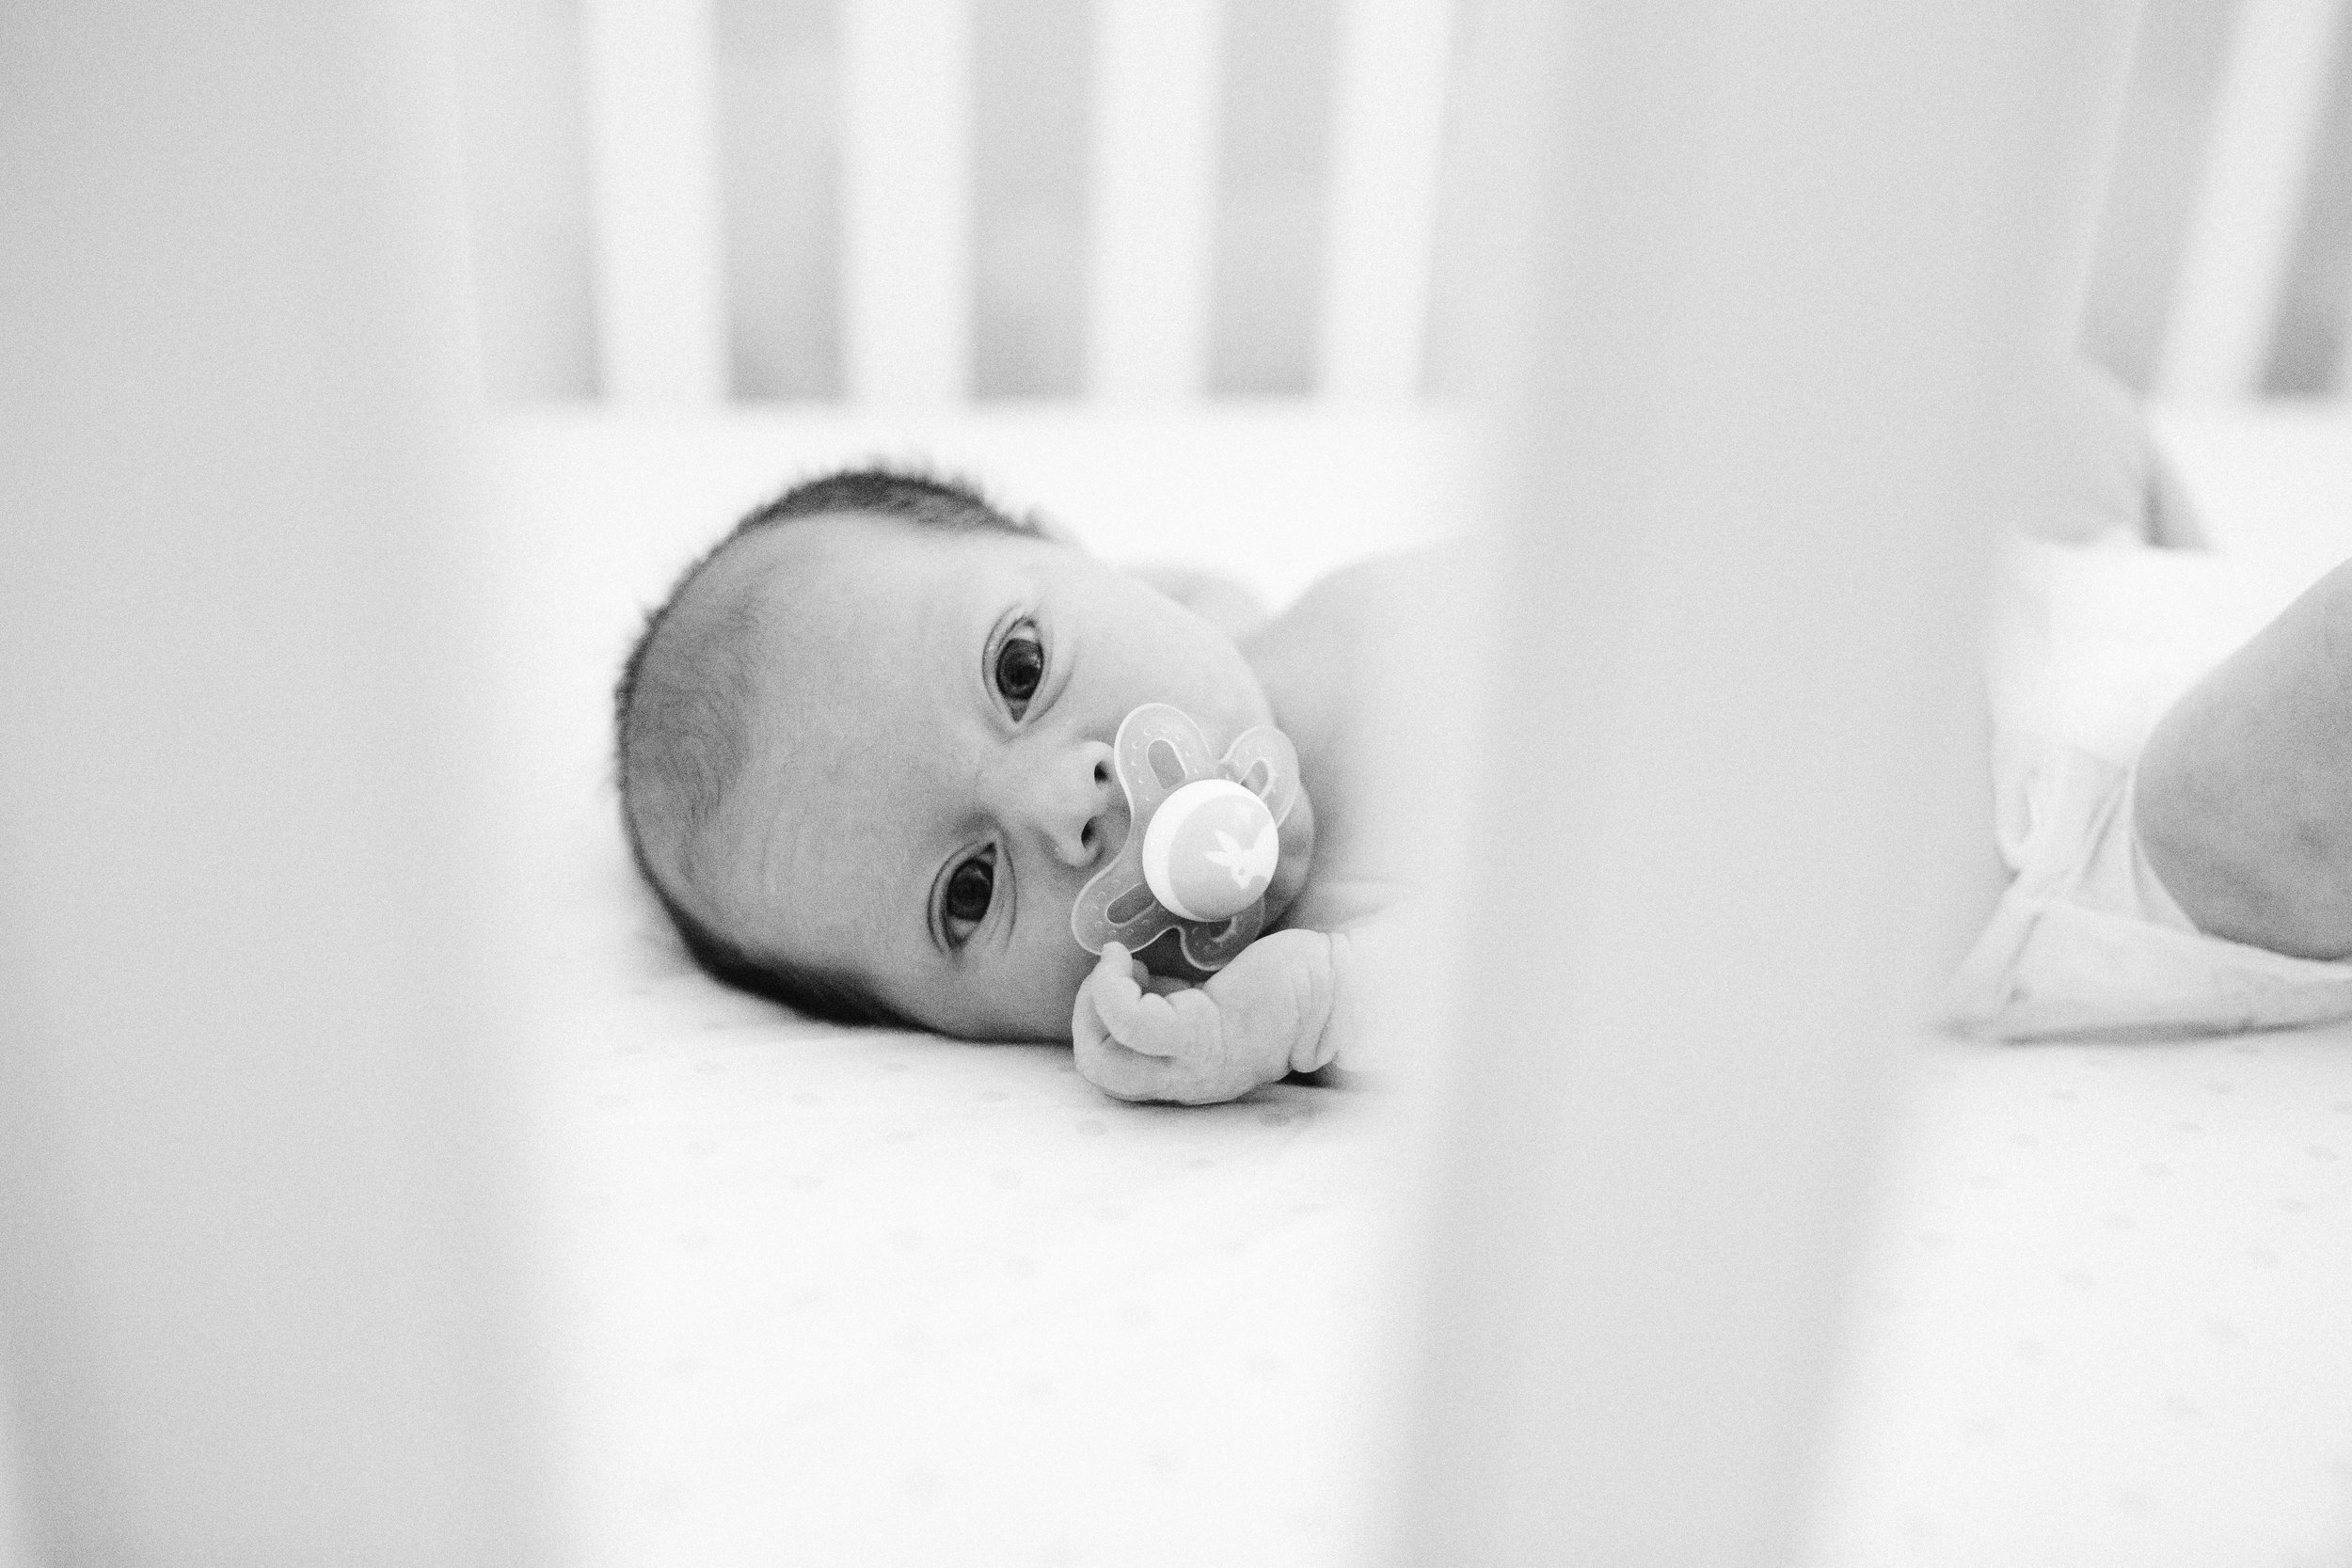
I love getting to know my families and their stories. Lindsey and Adam are college sweethearts who recently welcomed their first child, Felicity. Their session felt relaxed and easy, just like friends hanging out. Lindsey's parents were in town visiting and I'm so glad we were able to include multiple generations in this session. I'm so excited for this family's new adventures together. Welcome to the world, darling Felicity!
Baby Jasper | South Pasadena Newborn Session
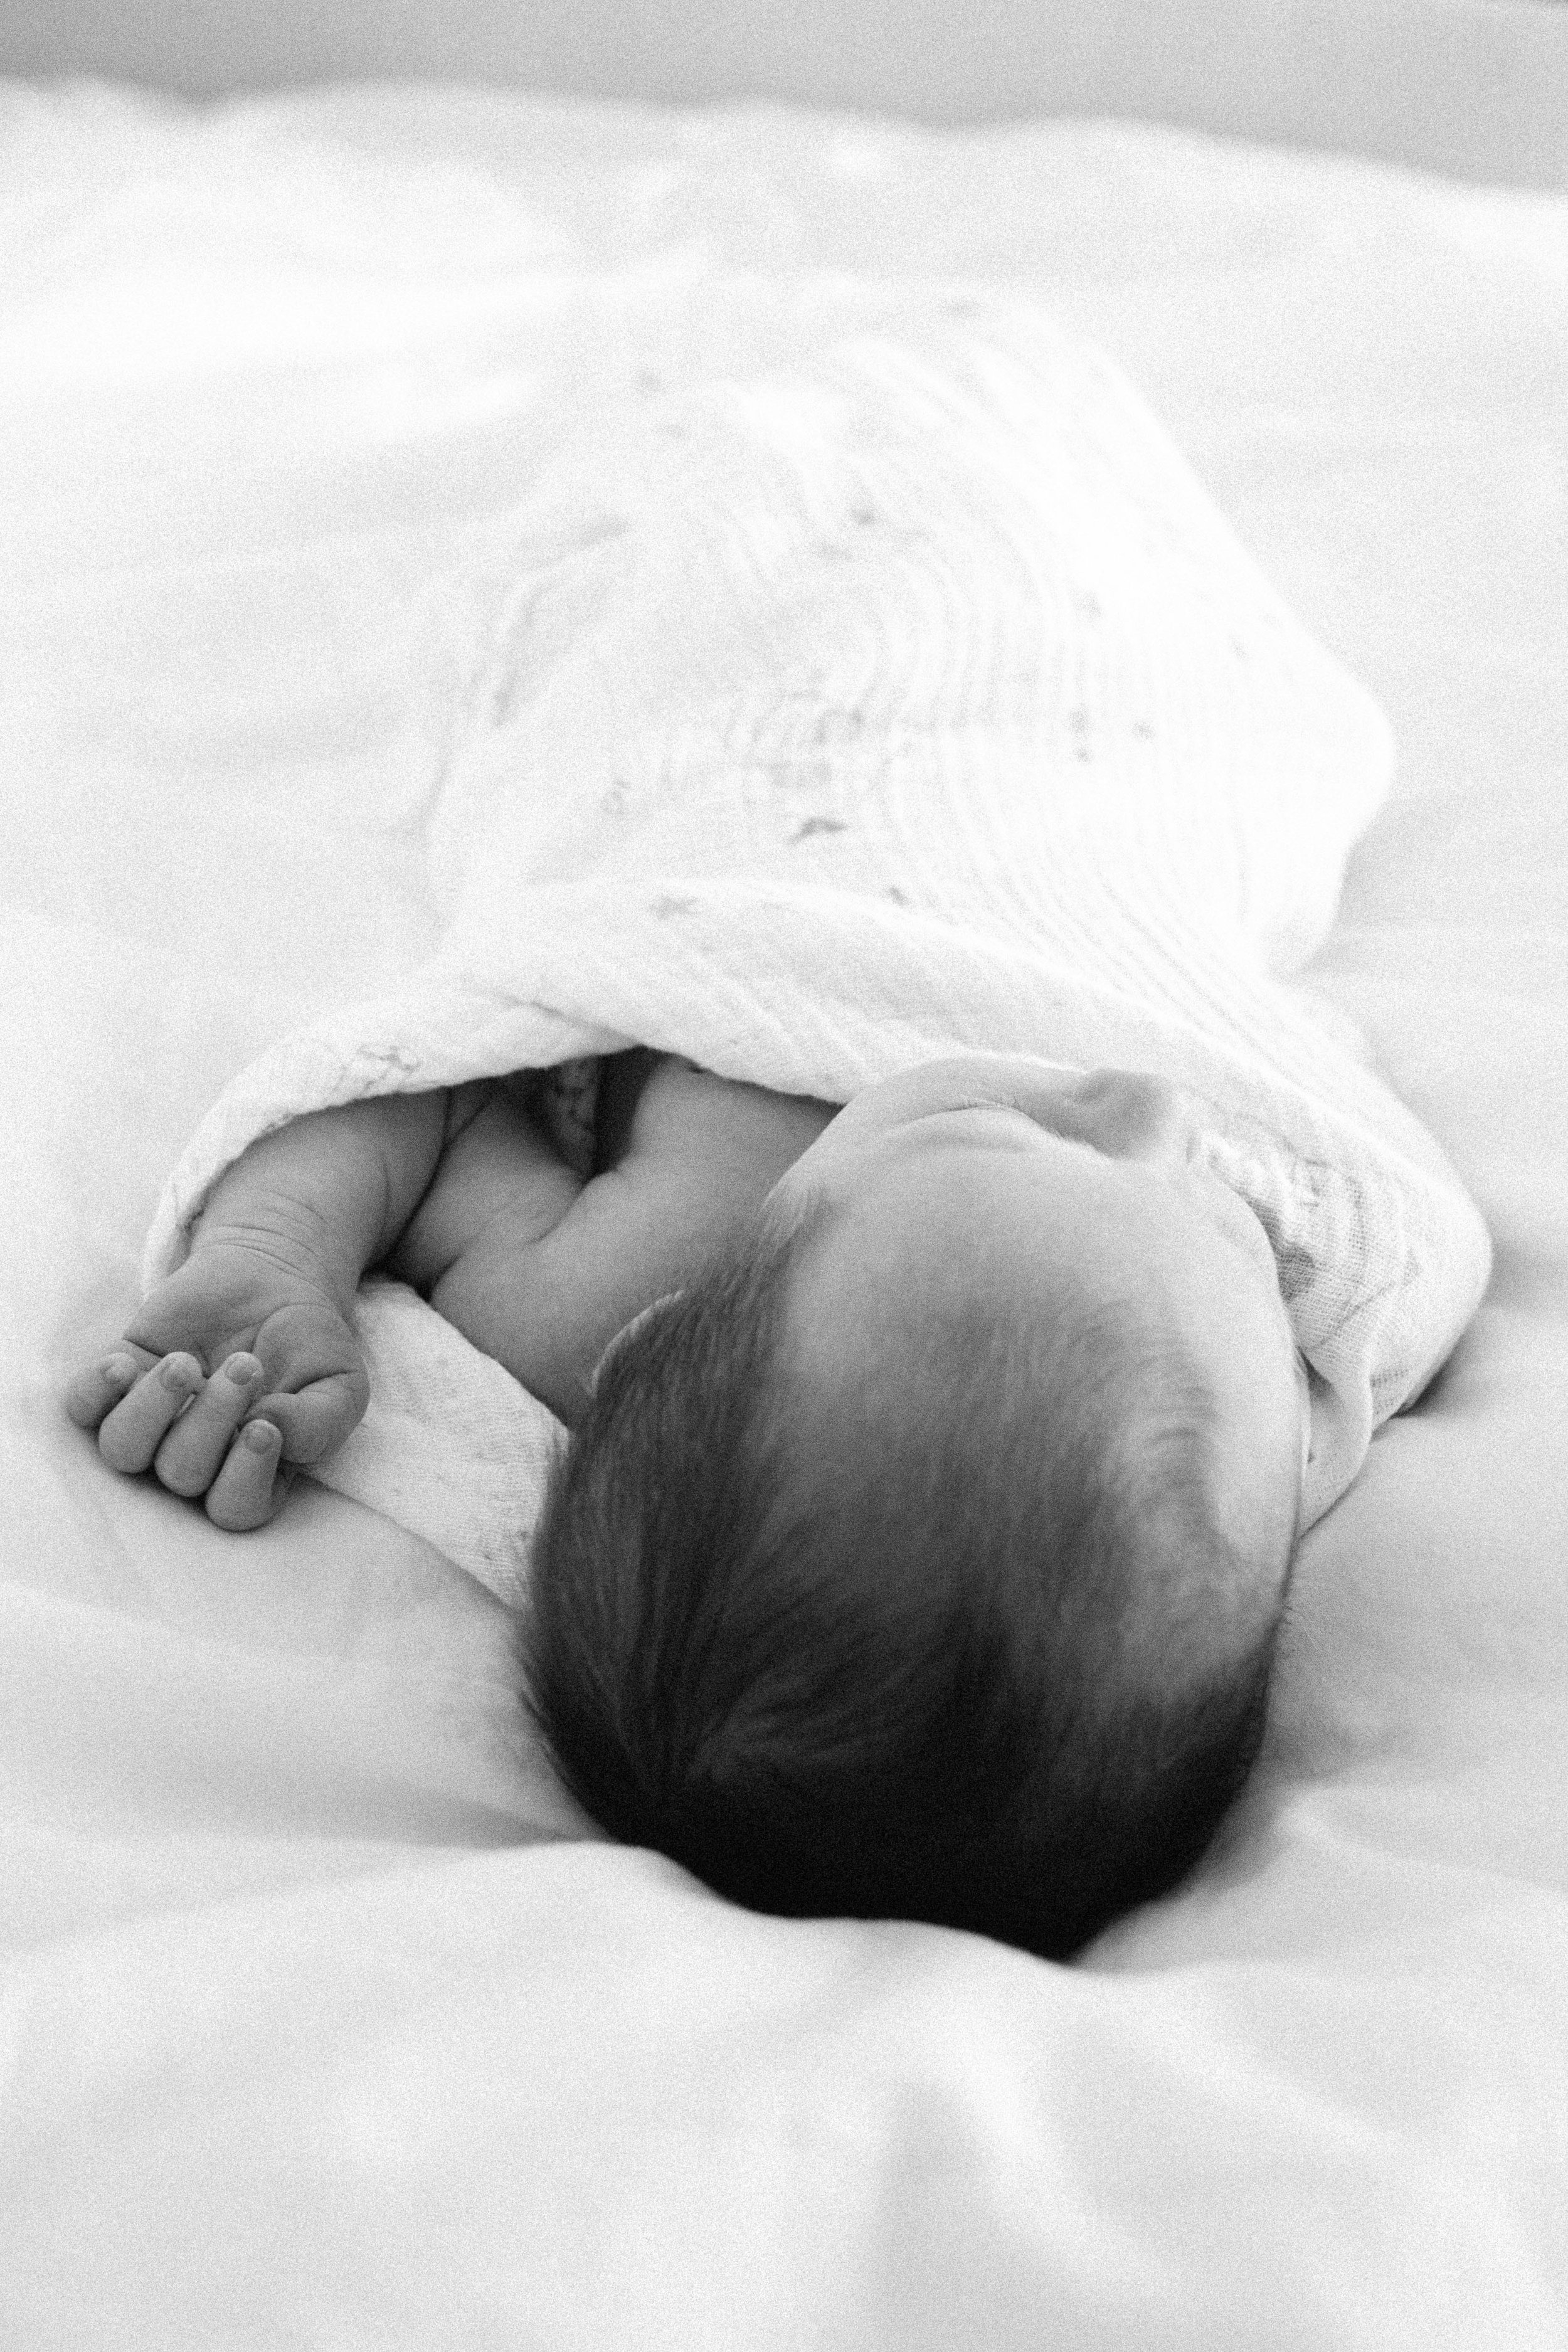
Boy, do I love newborn sessions! The warm squishiness and smell of a new baby is unbeatable. Also, the pride and joy that exudes from new parents is palpable, which I totally understand. You wait your whole life to welcome this little soul into the world and although the pregnancy may not have been easy and the delivery more difficult than you imagined, he's finally here. And he's perfect. Congratulations to Rupal and Andrew on your sweet baby boy!
Baby holding onto mama's hand - love it!
team work
It's always nice to get a photo of just mom and dad together :)
Documenting Baby's First Year - A 52 Week Project
When I was pregnant with Amelia, I decided to do a 52 week project of her first year. I had already taken weekly photos of my pregancy so I thought it would be great to keep up with the weekly documentation. For those who aren't familiar with this term, a 52 week project is where you take or select a photo from each week of a year. Simple as that!
Here are a few examples of photos from my 52 week project of Amelia's first year
{Week 1} Documenting Baby's First Year - A 52 Week Project
{Week 2} Documenting Baby's First Year - A 52 Week Project
{Week 3} Documenting Baby's First Year - A 52 Week Project
{Week 18} Documenting Baby's First Year - A 52 Week Project
{Week 38} Documenting Baby's First Year - A 52 Week Project
{Week 42} Documenting Baby's First Year - A 52 Week Project
I still can't believe that little baby turned into a toddler so quickly!
Here are a few tips to consider when taking on a 52 week project:
1. Begin with the end in mind
What do you envision using these photos for? Prints that can be used as decorations for the first birthday party? Insert them into a baby book? Create a photo book as a special keepsake? Research the companies that make the end project so that you can know their specifications. Some companies have minimum and maximum files sizes that they accept, or may require a specific color space to print in.
2. Decide on a theme. Or not.
Do you want your images to be portraits of your baby each week? Do you want to use the same props in your photos each week to show how much your little one is growing? Do you want to incorporate milestones as your theme? I didn't pick a theme per se but I did try to use available light as creatively as possible and incorporated milestones and important family members in her photos.
3. Commit to an orientation for your images
Decide if you want your images to be taken in landscape or portrait. Having a consistent orientation will make viewing the final images easier on the eye and better to format in a book
4. Learn Your Gear
Try to learn as much as possible about the equipment you're using to capture these memories. If you bought a new camera, read the manual and take a photography basics class. If you're going to use your smartphone, learn how to take advantage of its capabilities and what apps you may want to download to edit them (I'll share my favorite photo editing apps in a future post).
5. Organize your photos
Keep these photos in a separate folder where you can easily access them. Label each photo with the week that it's from so that you don't lose track of time and have to go back through and figure out what week September 15th is from. As with anything digital, make sure you have a plan to backup your work. Cloud based services are handy as well as external hard drives.
When the year is over, you can use the images as decorations for baby's first birthday party of turn them into a photo book
Showing Amelia her book of photos from the first year. She was so excited to see her face and kept saying 'Baby!'
Can't wait to give this book to Amelia when she's older and can appreciate it
With so much excitement and change during baby's first year this is a fun photo project to help capture those early memories. Be sure to checkout my tips on newborn photos and taking photos of kids

